Showing posts with label Embroidery. Show all posts

Sunday, February 20, 2011

Ruler? I don't need no freakin' ruler!

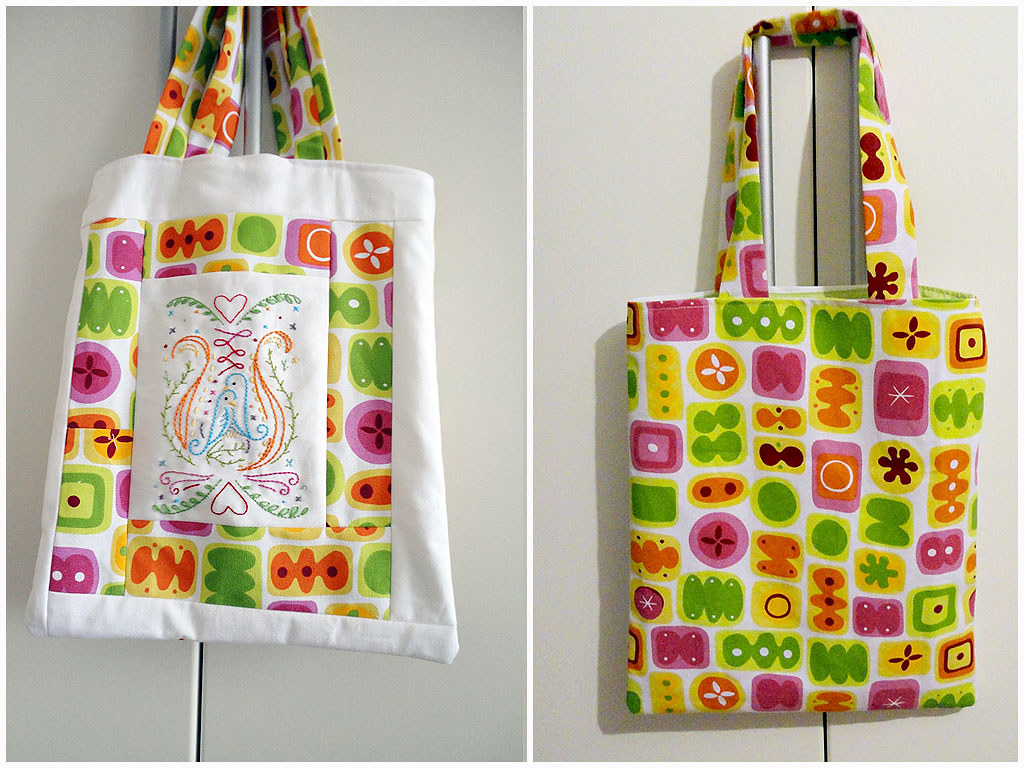
Except that I clearly do. As you can see in this very askew quilted (or is it patchwork?) tote below.

In a spur of late night inspiration I finally figured out what to do with this Sublime Stitching embroidery I stitched ages ago.

Getting a ruler out and measuring everything seemed like too much work, so I decided to eyeball everything. Big mistake.

Turns out you really do need a ruler for quilting. Or at least a good eye.

Sunday, March 28, 2010

Brown eyed girl

It's been a while since I did any embroidery, so I thought it would be a good idea to try a quick project, you know, so that I wouldn't forget the craft.
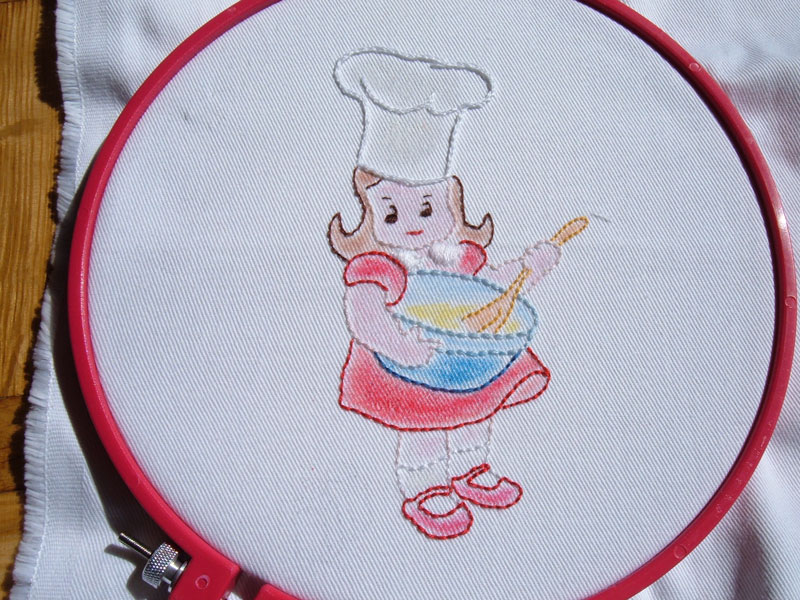
I choose a cute little girl Chef, that I found on Hoop love.

I failed to think it trough - I was bored with it before I even finished the outline of her dress. The plan was to fill everything in with thread, but I gave up on that one, trying to just be done with it. Enter crayons.


Why do you have such big brown eyes, little girl? It's because somebody couldn't find black embroidery thread. Couldn't that somebody outline your eyes with only one strand? Why, yes, that would have looked so much better. Sadly, somebody is too lazy to fix it now.
You're just going to have to look freaky for all eternity, little girl. Or until moths eat the fabric you live on.


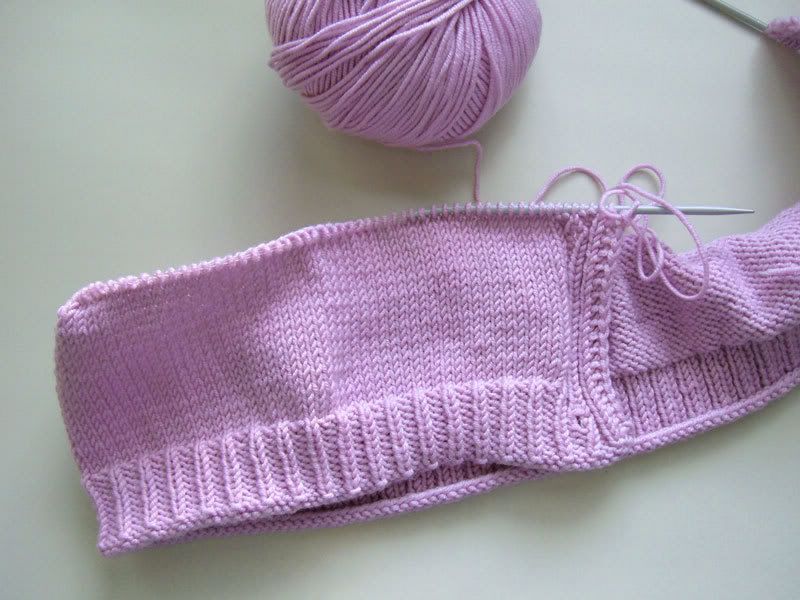
Meanwhile, the project I should be working on is going nowhere. I just can't find the motivation to knit. I blame it on spring and the sunny weather.
Still, got this far, hopefully I'll finish it this year.


Wednesday, April 29, 2009

DMC Light Effects

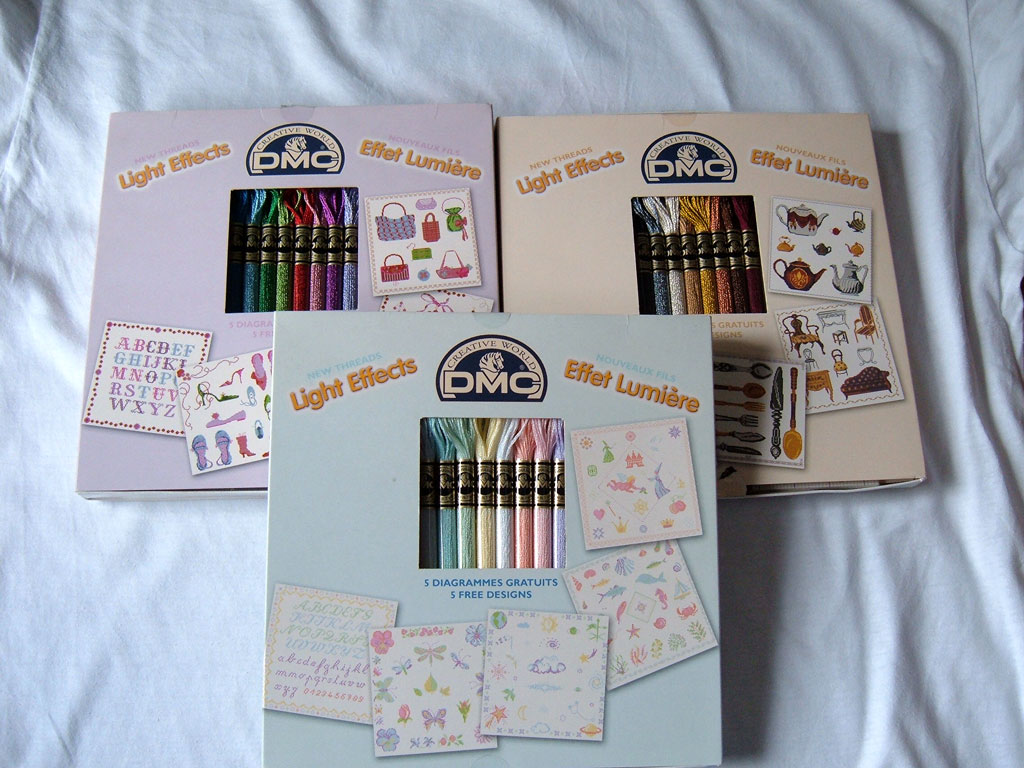
Look what my dad brought me from his business trip to Italy! It's DMC!


I feel like I'm eight years old again – you know, when your parents go on a trip, and you expect them to bring you something. 17 years ago it was mostly all about toys from Germany and foreign candy you couldn't get here. But this, this is even better than Milka chocolate... OK, I might be getting ahead of myself here. Chocolate is chocolate. But super quality embroidery thread is probably the next best thing. Or the third, after yarn. Damn, now I seem ungrateful ;-)

Anyway, I got three kits of DMC floss, in three different color schemes, each with five different cross stitch patterns and an extra pattern book. The only problem is that I don't do cross stitch. Well, no time like the present to start, right?

I already went and bought a whole meter of the white fabric with little square weave, the name of which I don't know. I think the lady at the store called it Panama?

So, this is how I start a new hobby. My seventh. Or is it eight?

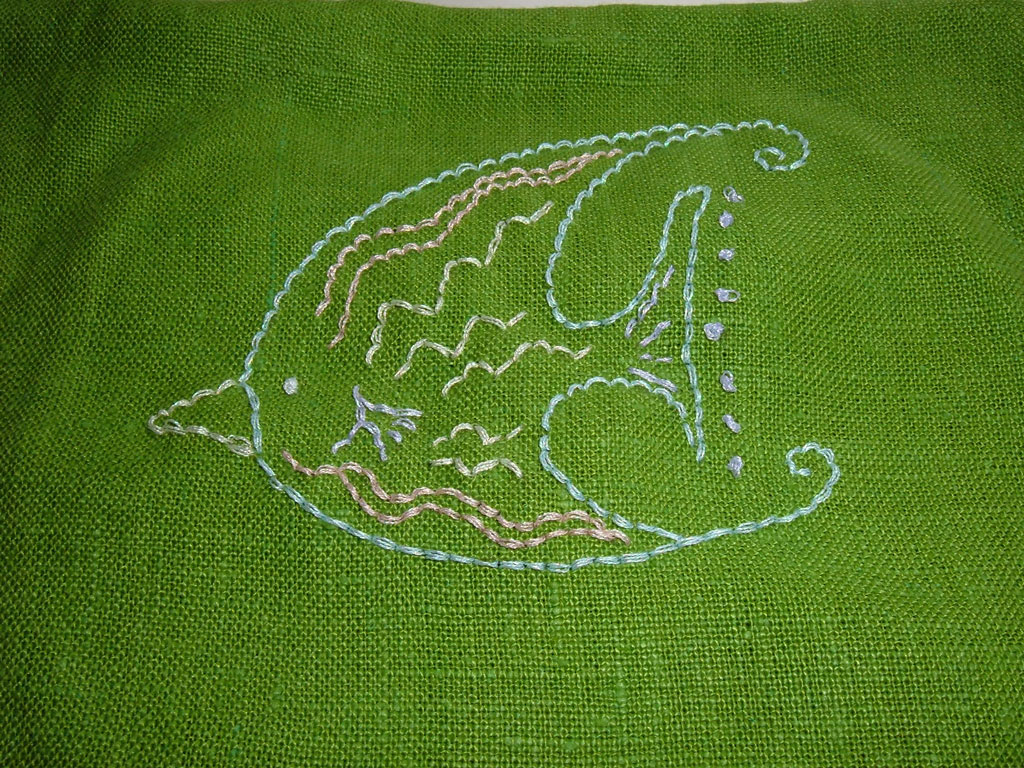
As for the DMC floss, this particular version is called Light Effects. A sparkly metallic thread. I tried it on some embroidery and I regret to inform you that working with it sucks!

It's splits easily, which is great when you need to separate the threads, not so great when the thread gets separated on your embroidery piece. The texture of the thread is rough and coarse, and it's hard to pull trough the fabric. And it puckers. I tend to pull my stitches very tightly, which usually goes fine with normal cotton thread. But not with this one.

I don't know, I'll try again on a sturdier cloth. Or maybe this DMC was just meant for cross stitch?

Thursday, April 23, 2009

Elephant and crayons

So September has a free pattern of this adorably cute elephant toy. The minute I saw it, I knew I had to embroider it.

Laser print out, couple of thread colors and a few hours later I had this. Sorry about the not so sharp picture, I took it at night, and we've already established that my camera is crap.
It looks cute, right?


Of course,the devil wouldn't let me be, so I RUINED IT with crayons. Just look at the wheels! And the gray color just makes it look dirty. What was I thinking?!


There is a reason they tell you to color your embroidery BEFORE you embroider - my thread on this one is full of crayon gunk. It seems I don't know how to color inside the lines. But it's hard to be precise with crayons.

I think I'll try this one again, without the color. Elegance of blank space and all that.

Wednesday, March 25, 2009

Mostly mushrooms

I finally finished this embroidery piece. The pattern is from doe-c-doe, a nice looking forest scene featuring mushrooms.

This was a little time consuming, because of all the filling. I think it might need something else, maybe more shading. But I'm an impatient crafter, always looking to start a new project, so I declare this one finished.


Wow, the red does not photograph well. Don't look at it too long or you might go blind ;-)


I guess now I can go and work on my cardigan. I finished the lower part of the body and 2/3 of the first sleeve. I only have two and a half skeins left. The panicky feeling known as "I'm going to run out of yarn" is slowly but surely setting in.


Wednesday, March 11, 2009

Bird, part 2

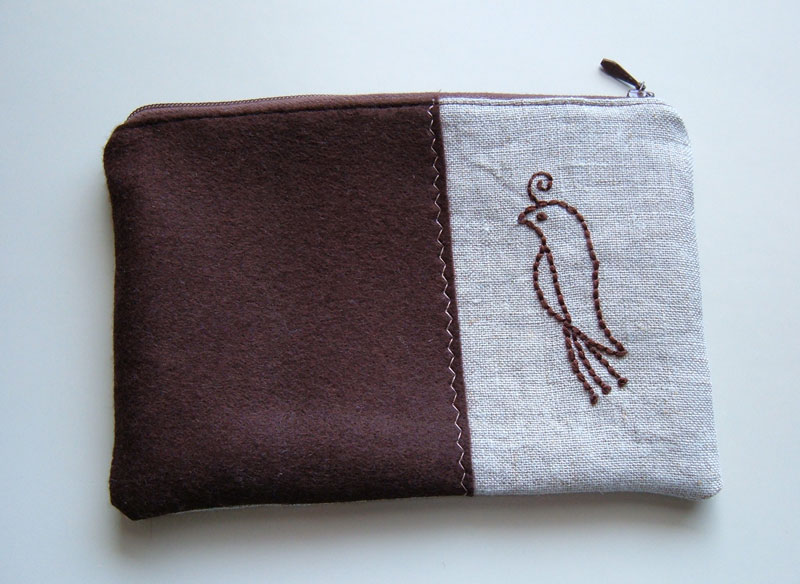
OK, I did manage to find the time to sew my embroidery birds into zippered pouches. It only took me about three hours for both pouches, with no ripping at all. A new one for me. So that's what happens when you sew carefully?
Now if only I could make myself to make a pattern and measure and cut everything in advance, instead of cutting away fabric as I see fit. Every time I sew something, I end up throwing half of the fabric away.

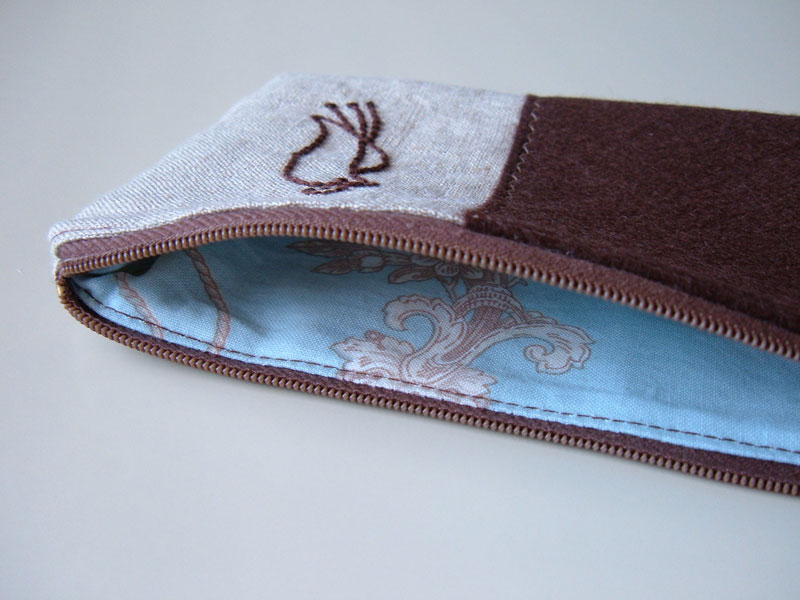
First pouch - brown-greyish linen combined with brown felt, lined with a pale blue fabric that has some brownish flowers on it. The back is just plain linen, no details there.


For the pale blue bird, all pale blue. I think this fabric is meant for bed sheets, it's a tightly woven cotton and a real pain to iron. The same stuff is on the back.

Friday, March 6, 2009

Birds.

Since all my post lately seem to alternate knitting-embroidery-knitting-embroidery, why mess with the pattern?

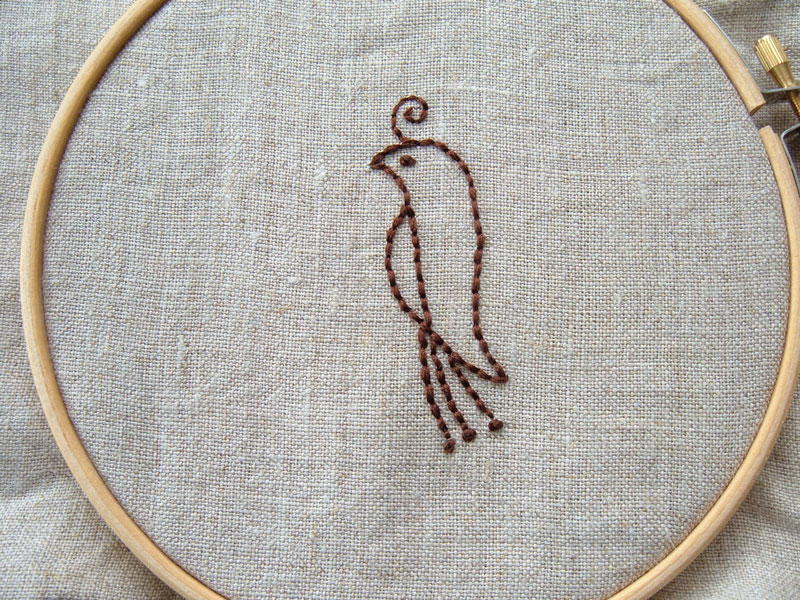
Here are two birds and a fine example how not to do embroidery. Both patterns are from the Sublime Stitching Craft Pad.
The pale blue thread I used for the first bird is barely noticeable on the gray linen. Really, anything other than perfect weather and daylight and you hardly know it's there.

The brown one - way better. Both of these are going to be embroidery pouches (what else?). And they need to become embroidery pouches by Monday. That means I have two days to get off my lazy ass, pull out my extremely heavy Bagat sewing machine and sew something that I can give my friend for her birthday.

Sunday, February 15, 2009

Zinnia

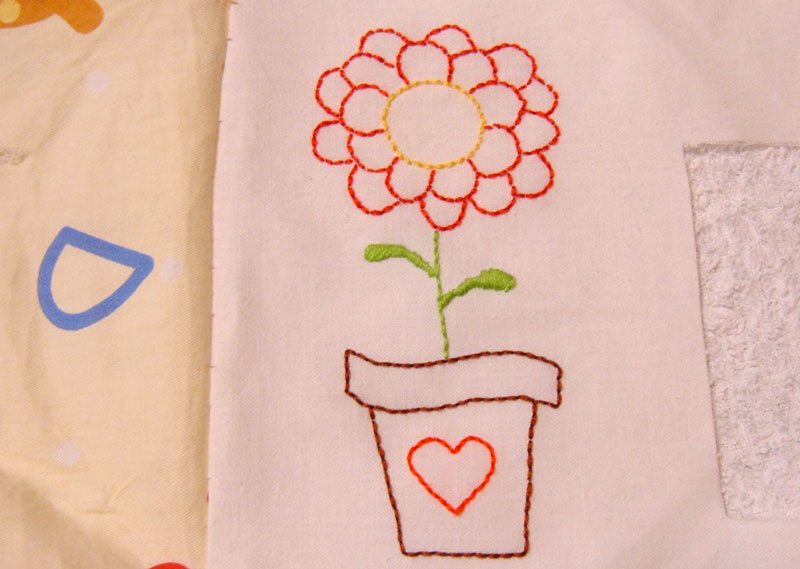
Quick little embroidery project - the pattern is Zinnia from Big B, purchased on etsy.
I embroidered it on a scrap fabric, because I wanted to test a new transfer method - the laser printer one. Basically, you just print out your pattern on a laser printer, then iron it on the fabric and it transfers. Greatness!

Sure, the lines are faint and a bit hard to see, but it beats tracing the pattern taped to a window.

Now the only question is - what am I going to do with it?

Sunday, January 25, 2009

Zip it

I finally did something with my embroidery projects. I like to make things that have a function - cute artsy stuff are pretty to look at, but the first question that pops into my head is - What does it do?
The only thing I could think of for my stitched pieces of linen was to turn them into zippered pouches. Really, that's it, I have no idea what else to do with them.


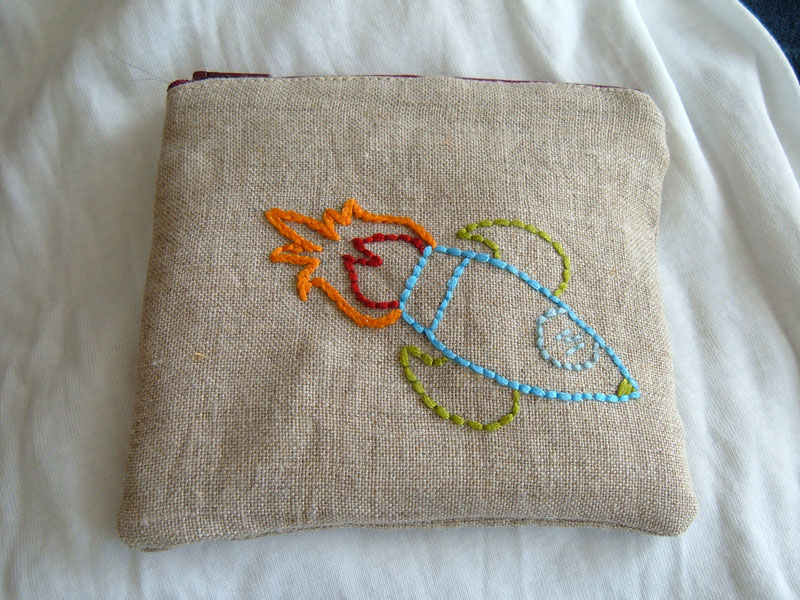
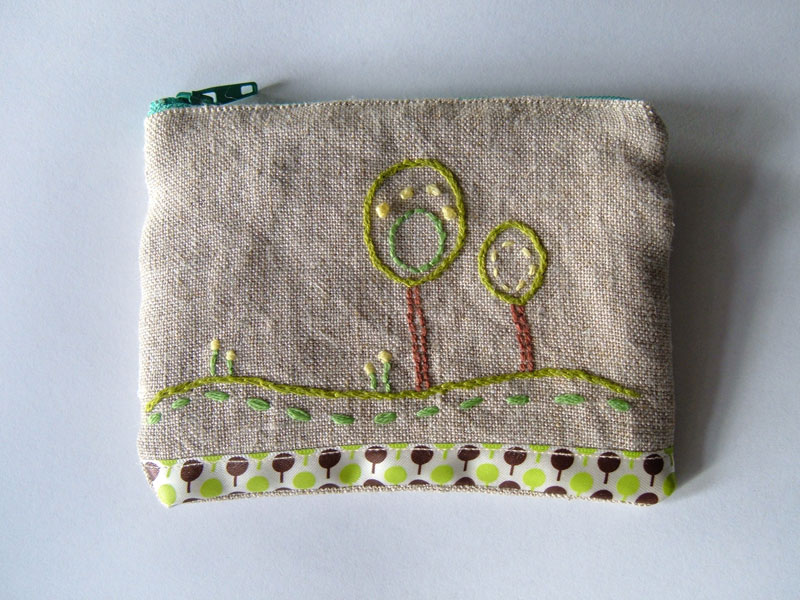
So I sewed two little pouches. The first one is about 12 cm x 13 cm, with a Rocket pattern from Sublime Stitching Craft Pad. The second one is 9 cm x 12 cm, pattern based on the one in Doodle Stitching.
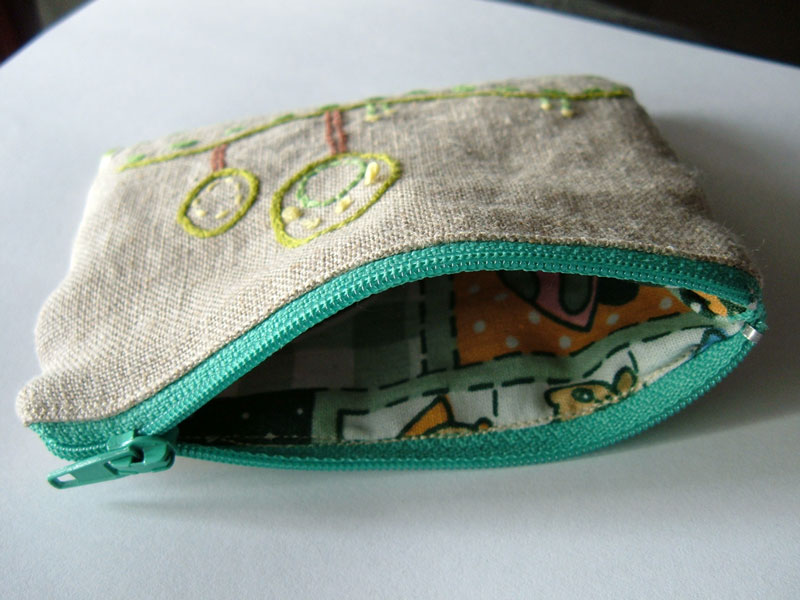
Installing a zipper would have been way easier if I had a zipper foot on my sewing machine. Or if I had the ability to sew a perfectly straight line.


Of course, now that I sewed the pouches, they don't do anything. They just sit on my table waiting for me to put something in them. Maybe spare change for the Tree one?

Sunday, January 11, 2009

Forgot to take a decent picture

I recently bought Doodle Stitching from Amazon. It's a nice embroidery book, which explains the basic stitches and offers some projects that you can do yourself. The projects in it are really easy and cute.

The only problem I have with the book is that the patterns themselves are printed in pale pastel colors. You're supposed to copy and enlarge them, but no photocopier (the black and white one)
can copy those super pale lines. I ended up freehand copying most of the pattern and this only showed me that my drawing skills were left somewhere in the 4th grade of primary school. 'Tis a sad realization, I tell you.

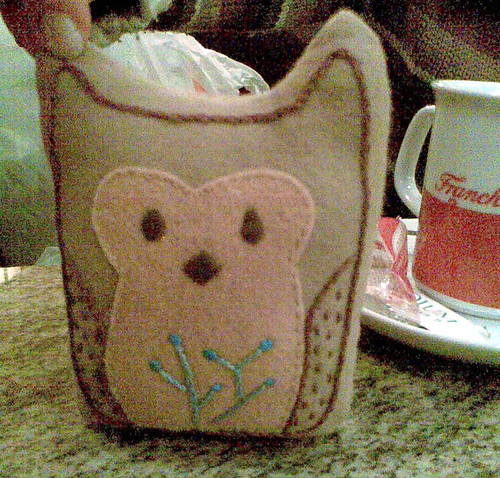
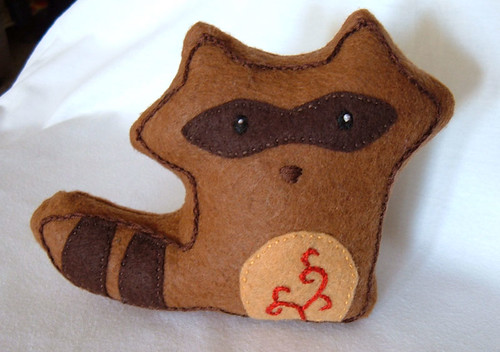
The book shows you how to embroider and sew a couple of cute woodland plushies - an owl and a raccoon. They were made as part of Christ
mas presents for my friends, and I forgot to take a good picture of the damn owl before giving it away. I ended up using my cellphone. Yup, this is the best my Nokia can do.


See the difference between the phone camera and a digital one?


I've also been knitting. Said knitting is currently drying on the balcony. This might prove to be a huge mistake, because the temperatures here tend to drop below zero lately. Freezing can't be good for the yarn. But I really didn't feel like blocking it flat - that takes space and effort. I'm lazy.

I'll post pictures of the finished Green Day Vest (that is actually gray) once it's done drying. The post will probably include some whining about it not fitting right due to bad blocking.

Tuesday, December 23, 2008

Stitched Ornaments

Well, the title pretty much tells it all.

I made some Christmas decorations. Embroidered, of course. I don't know what's with me and embroidery. It seems to have taken over my craft world.

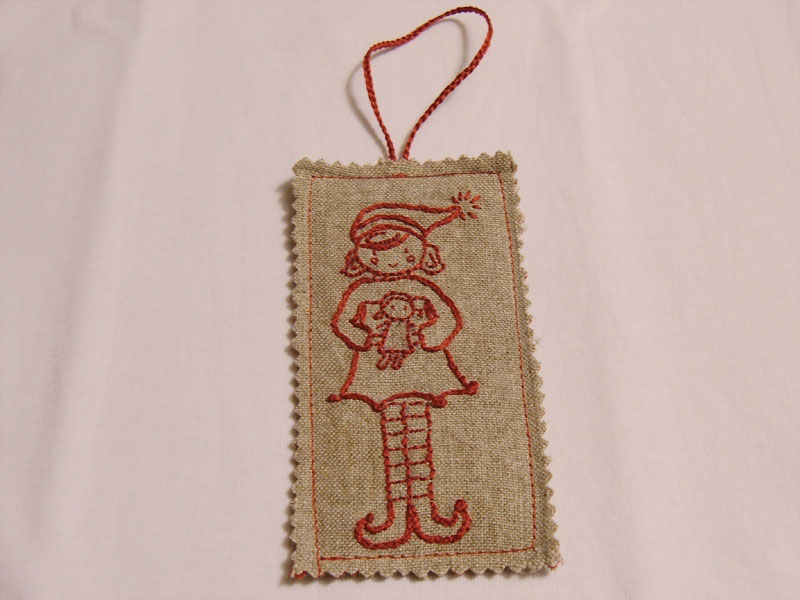
First up, a pattern from WeeWonderfuls, the
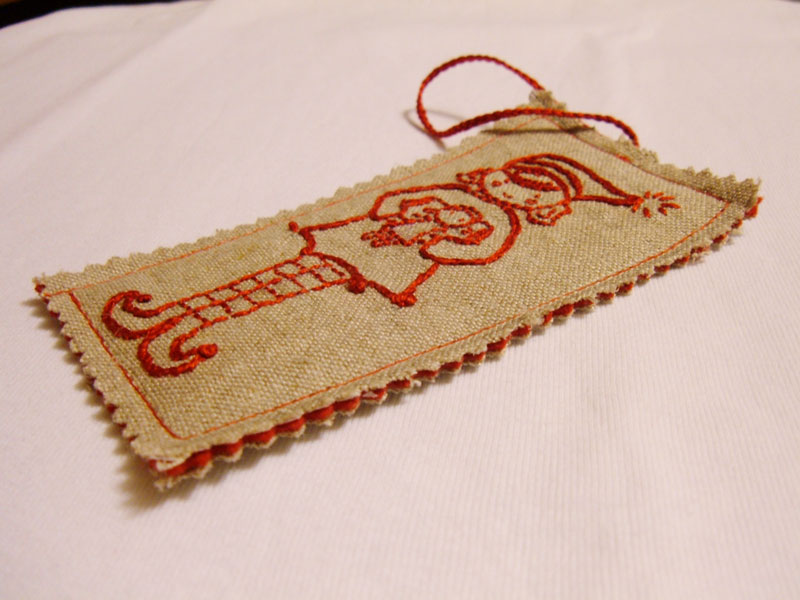
Elf Stitchette. I made mine about the size of a credit card. That's why the details are a bit bleh. Also the reason why the Elf has no hands.

The ornament is from linen, with a layer of red felt between. Cut with pinking shears for decorative effect. And to stop the fabric from fraying.

And for a Doctor Who fan on my list - a Cyberman. Actually, just his head. Right in time for this years Doctor Who Christmas Special, which features the Cybermen. That was kind of a spoiler for the episode, so if I've completely ruined it for you, I'm sorry.

Now I'm off to do some baking. Have a merry and crafty Chistmas!

Sunday, December 14, 2008

Mushroom Cupcake Embroidery

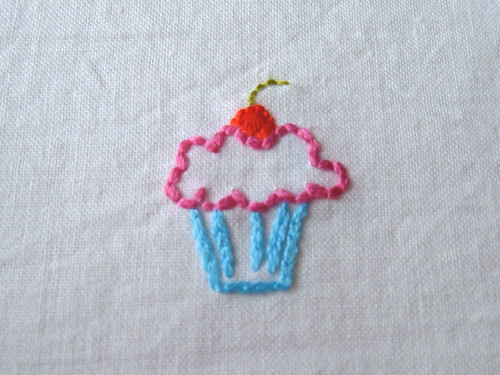
I'm still on an embroidery kick. These are my latest and greatest. Cupcake pattern is from Pimp Stitch, and the mushroom cottage is an annieoakleaves pattern. They're really small; the embroidery itself is about the size of a coin. That doesn't mean it was a quick craft. The mushroom took almost half a day of stitching. Ouch, my back.


I turned them into little ornaments, just to give them some sort of purpose.

Monday, December 8, 2008

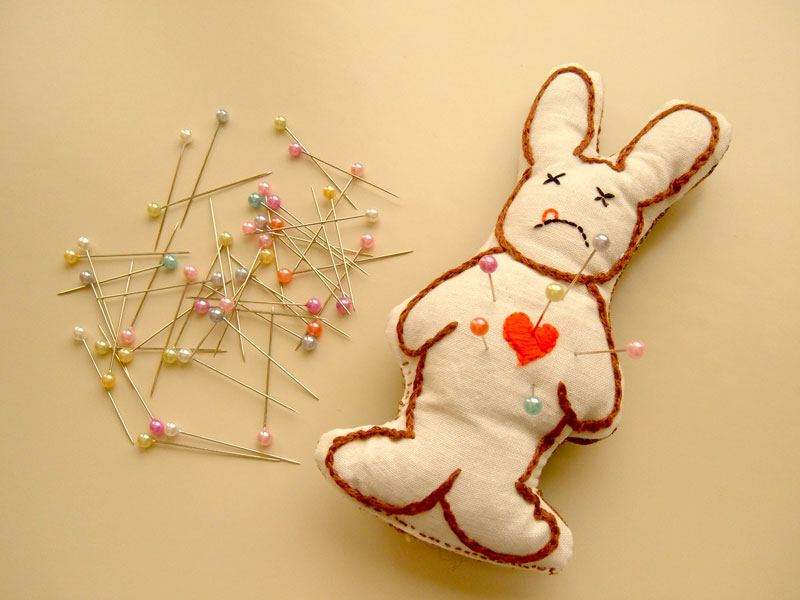
Dead Bunny Pinscushion

I'm still working on perfecting my embroidery skills. It's fun. So fun actually, that I'm totally neglecting my knitting. I'm way past my deadline to start knitting Christmas presents. Looks like this year people will be getting store bought stuff. Or embroidered stuff ;-)
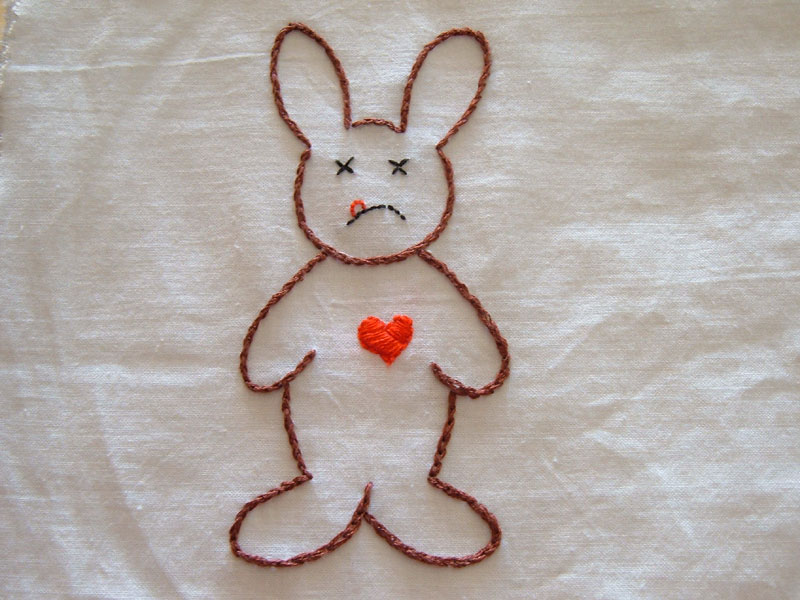
My latest creation - dead bunny. Done is split stitch for the outline, and satin stitch for the heart.


Later it became a pincushion. Voodoo bunny.

Things I learned form sewing this:

  1. It's hard to sew a bunny outline with a sewing machine.
  2. Next time, sew a little farther from the embroidery, otherwise it'll be too close to the edge of the pincushion. Like shown on the picture below.
  3. Choose a non-fraying fabric for the back, because if you don't, your stitches will come undone, and it will look crappy. Like not shown on the picture below.
  4. Sew the opening shut using the same thread color as your front fabric. Don't be lazy and just use the thread that was already on the needle.

But still, a functioning pincushion for my pretty shiny pins. Maybe now I won't end up finding stray pins on the floor day after I'm done sewing something.

Thursday, November 27, 2008

Brought to you by the letter U

I'm trying out a new craft - embroidery!
I already had a hoop, originally bought to be a stencil fram
e. And I went and got some floss. Just look at the pretty :

The embroidery itself isn't really that difficult. Sure, my hands were killing me when I was done, but still, worth it.
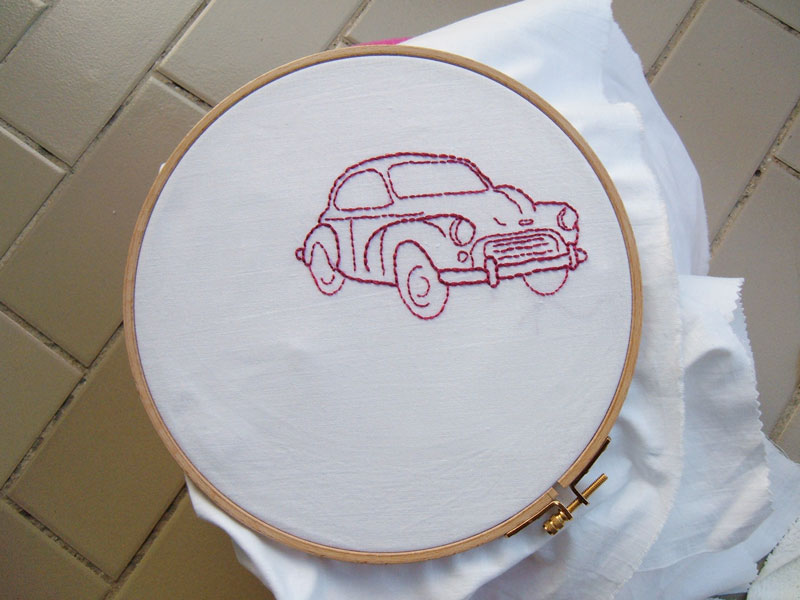
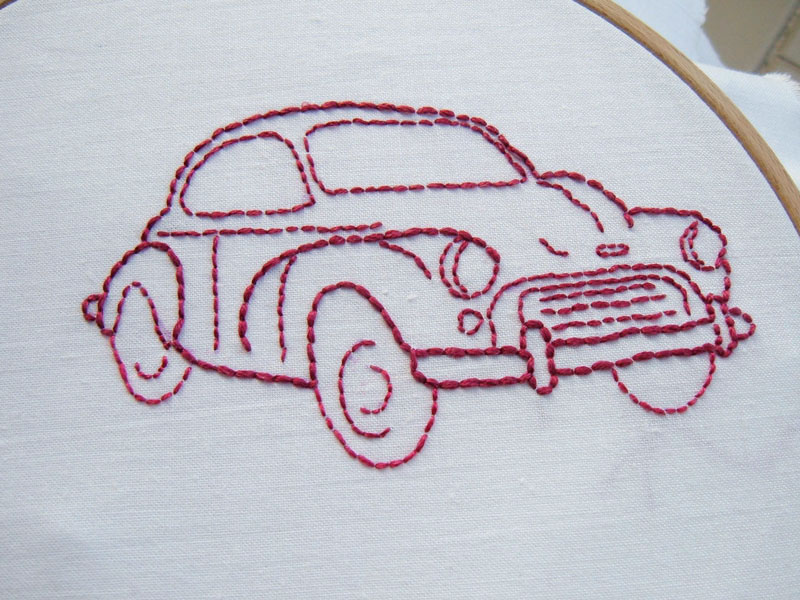
I traced a letter from a dingbat font, called Old Car. The letter U was this cutie below. Don't ask me what king of car it is, I know as much about cars as I do about brain surgery.

I started with 6 strands of floss, then got smarter and separated it, to use only three. The entire image is done in backstitch. As you can see, I have some troubles with straight lines.

I'm planning on sewing some sort of pencil/cosmetics case out of it. Someday.

Quick Buttony sweater update: half a sleeve done, one and a half sleeve to go.