Showing posts with label quilting. Show all posts

Thursday, June 13, 2013

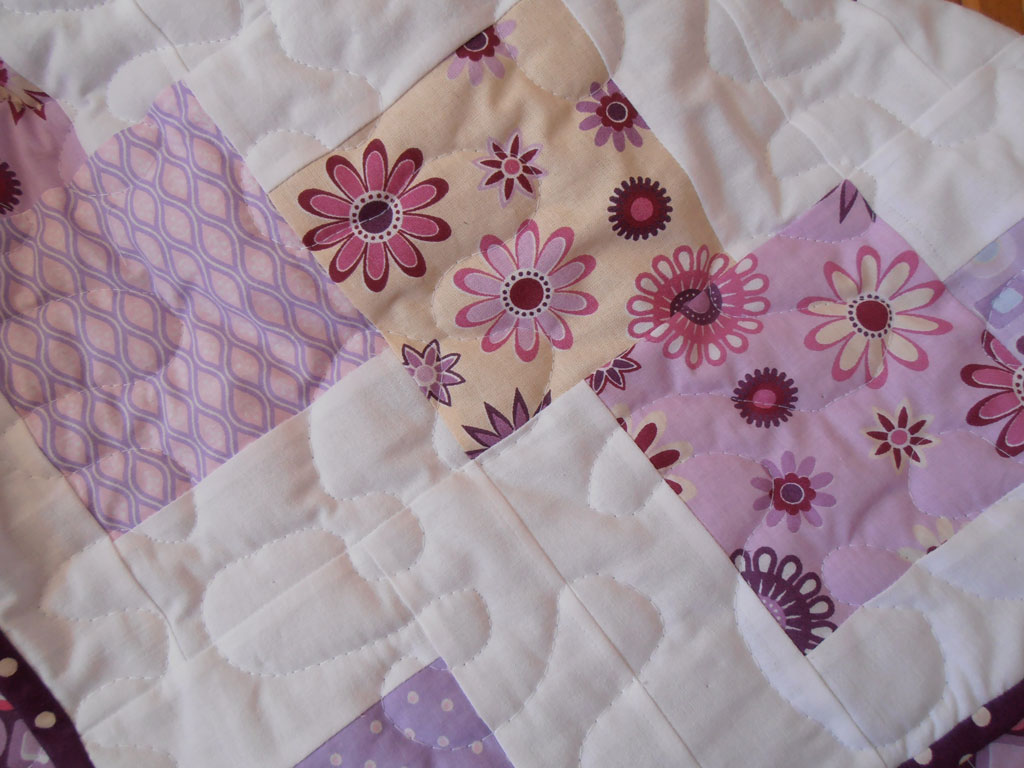
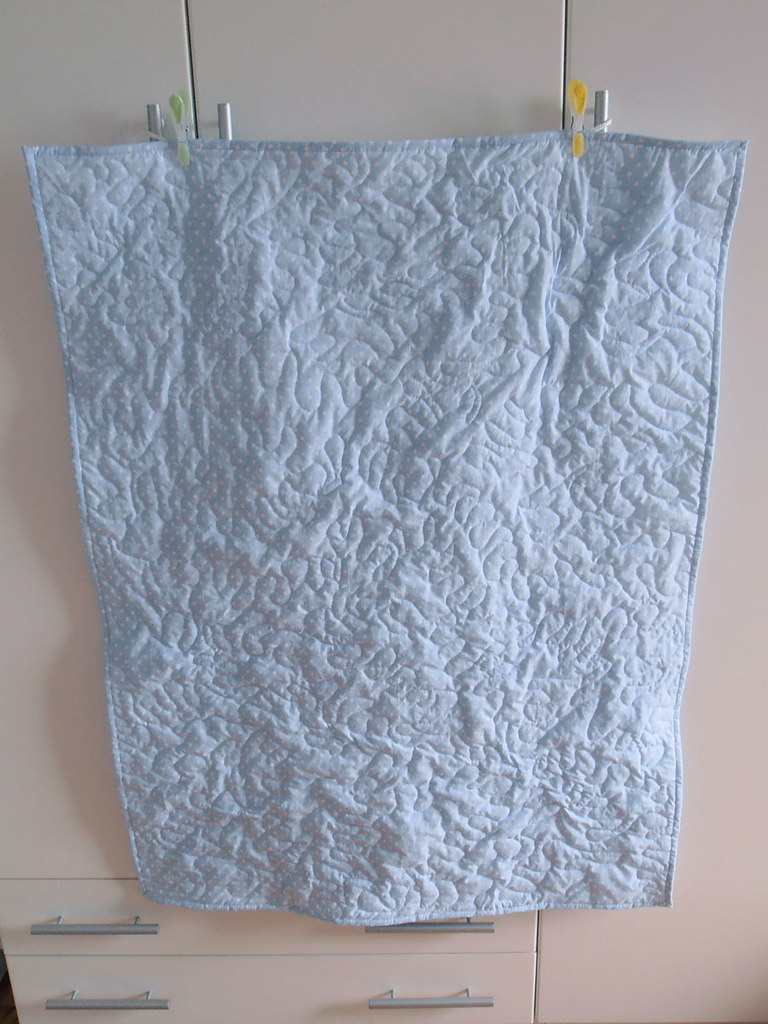
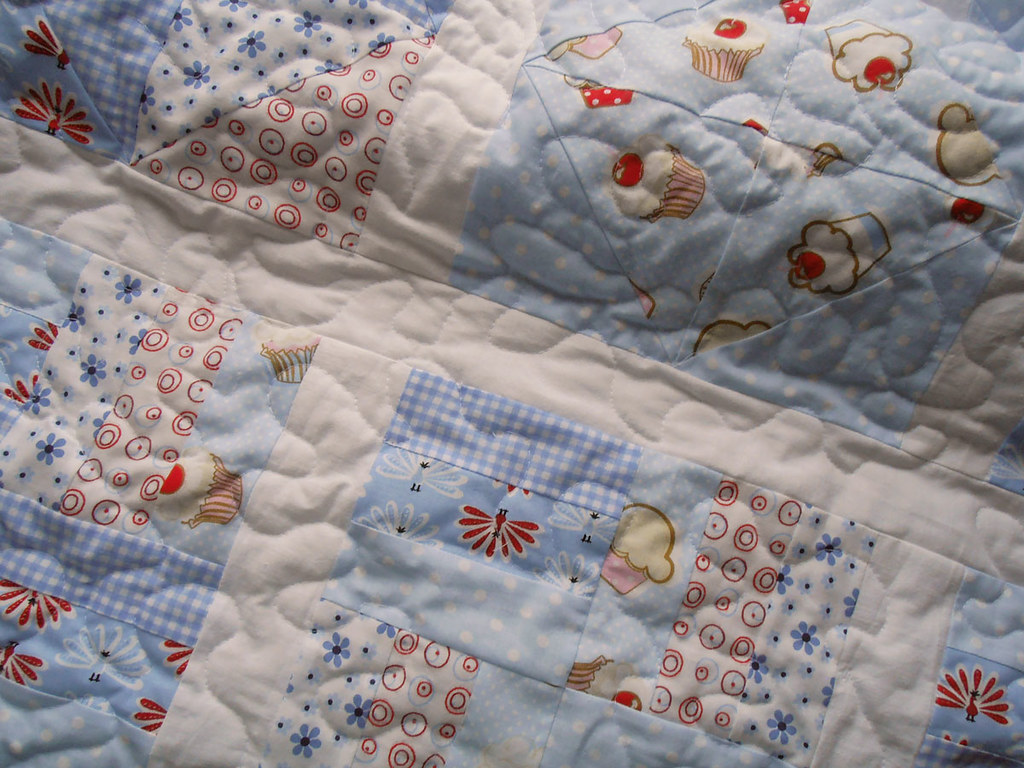
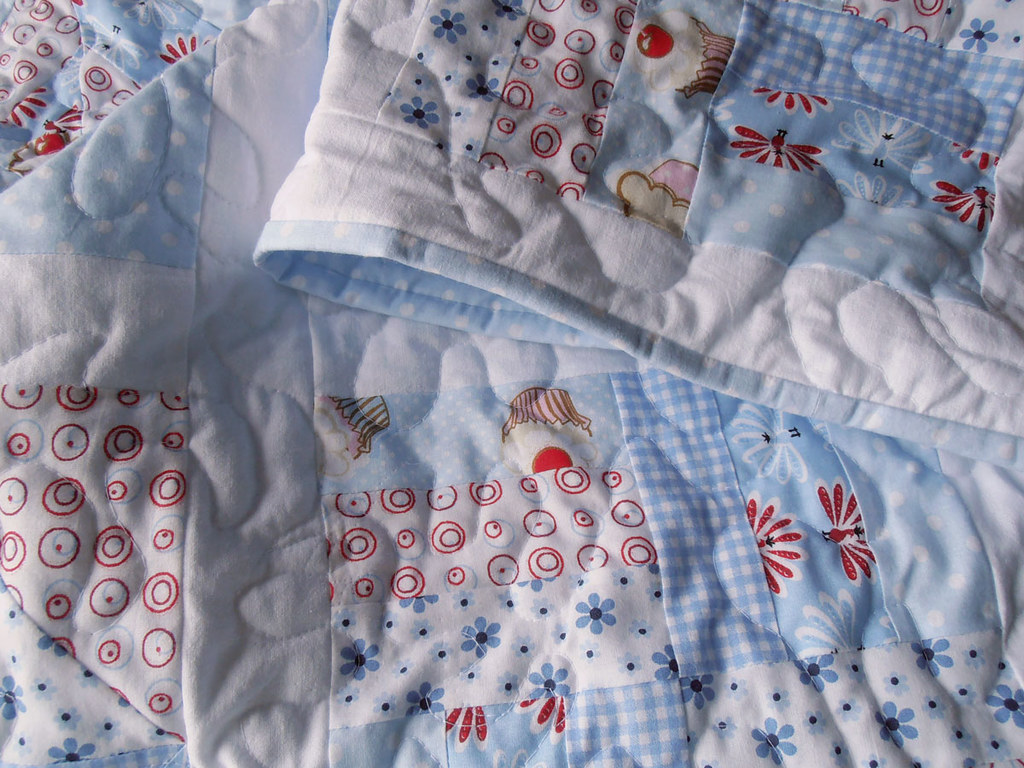
D9P Quilt

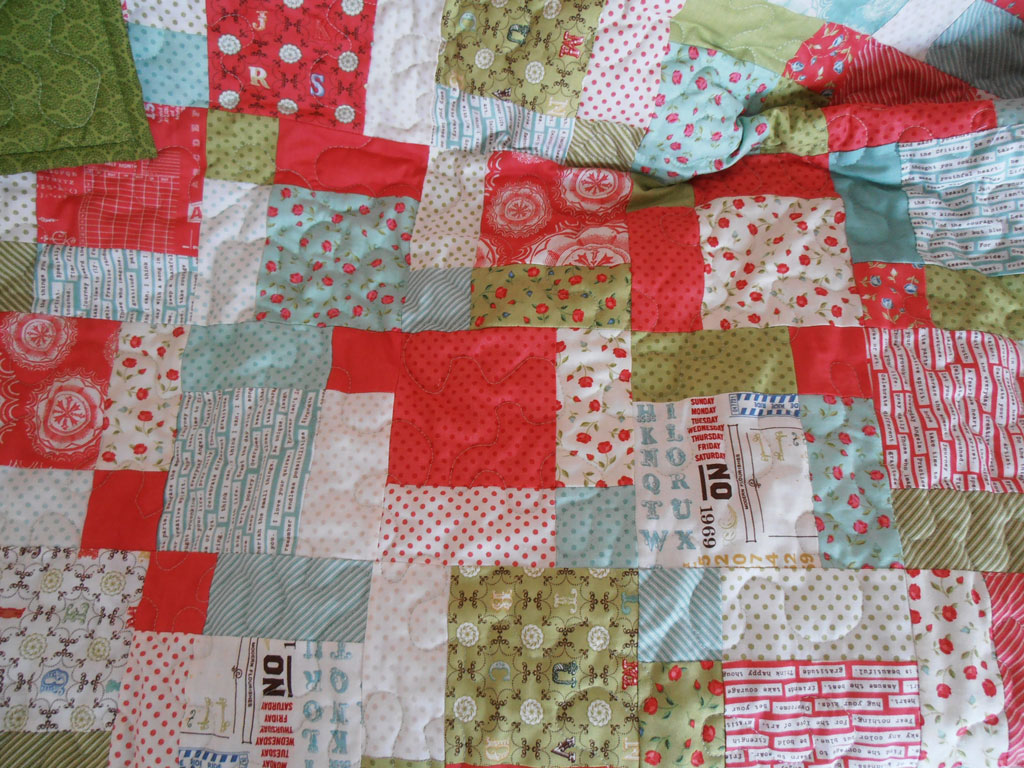
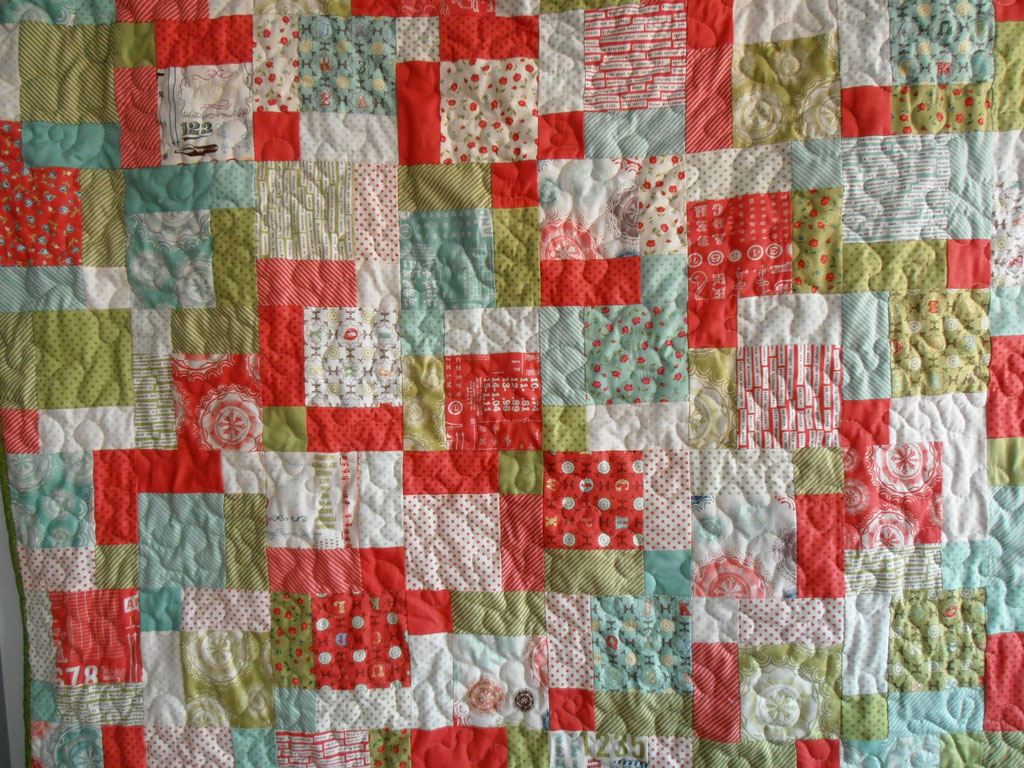
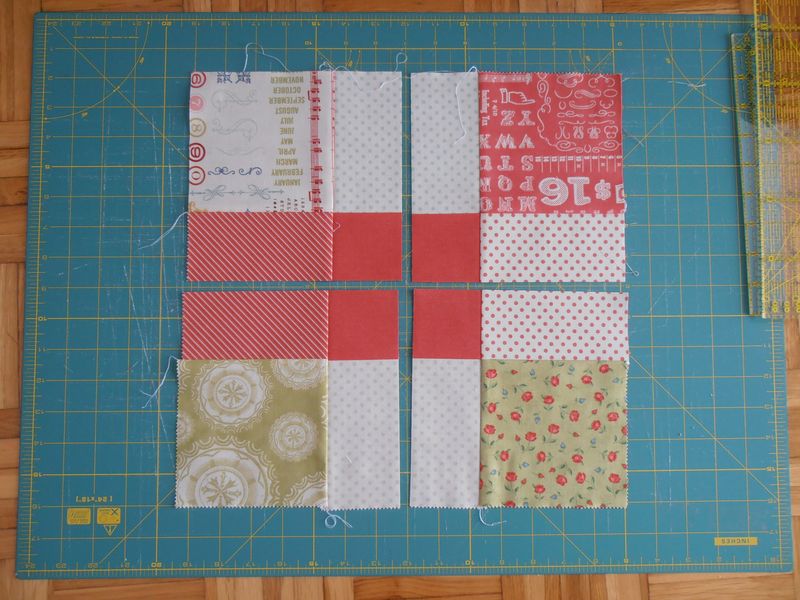
D9P stands for disappearing nine patch. A super easy and effective quilt block. You just sew nine 5-inch squares together 3 rows by 3 columns into one big square and then you cut in the middle from top to bottom, and left to right. You get 4 blocks that you can arrange in any way you like. 


I ordered one charm pack and one layer cake in Moda's Odds and Ends fabric from Etsy. Originally I planned for a totally different quilt pattern (square in a square), but then I changed my mind. As I often do when it comes to buying supplies for a craft project, whether it's sewing or knitting. 


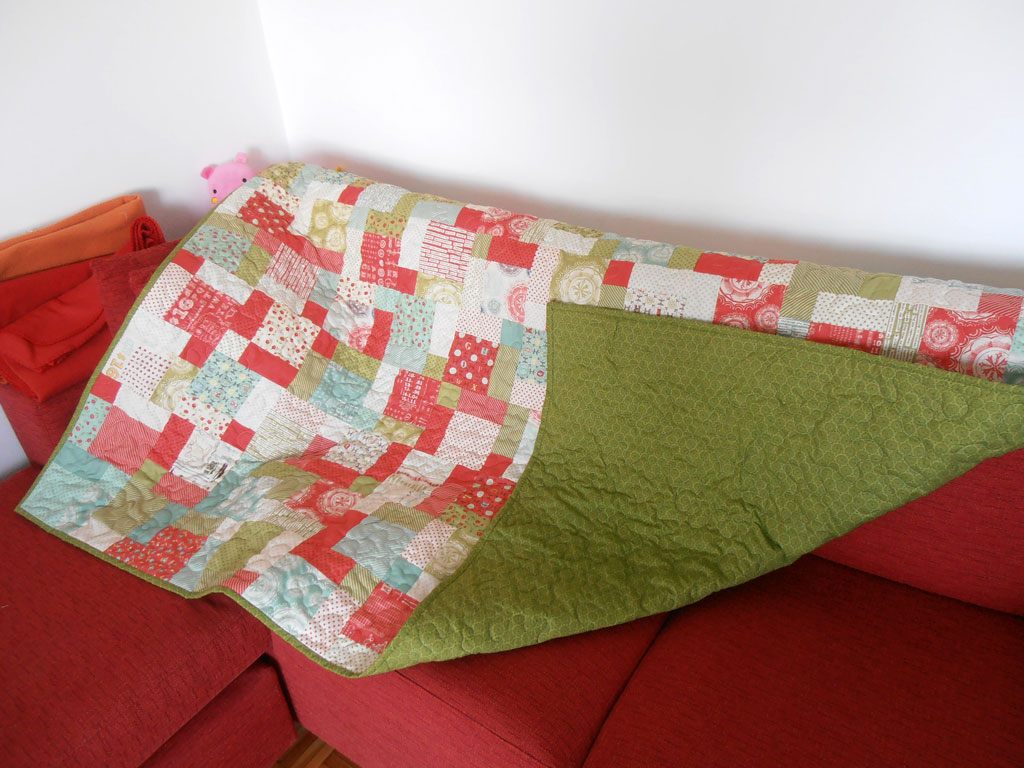
Giving up on the original plan meant that I didn't have quite enough fabric for a proper sized quilt. I ended up making the quilt a little shorter that the standard duvet cover, but it's not too short. The finished dimensions are 130x180 cm. I was going for 190 cm in length. I could have just added a border around the entire quilt, but I gave up on that because I couldn't decide which fabric to use and I only had batting that was 135 cm wide. I didn't want to buy new batting. 


Sewing the top together took about a week. Worst job was trimming the blocks to the same size. As I wasn't quite precise while sewing and cutting the 5-inch squares, some of my finished blocks ended up being smaller than 7 inches. Another reason is Moda's pinked edges on their precuts. Since I cut the layer cakes, my edges didn't quite match up. Or maybe I just suck at matching pinked edges.
Anyway, I had to trim all sqaures. All 88 of them. Took forever. 

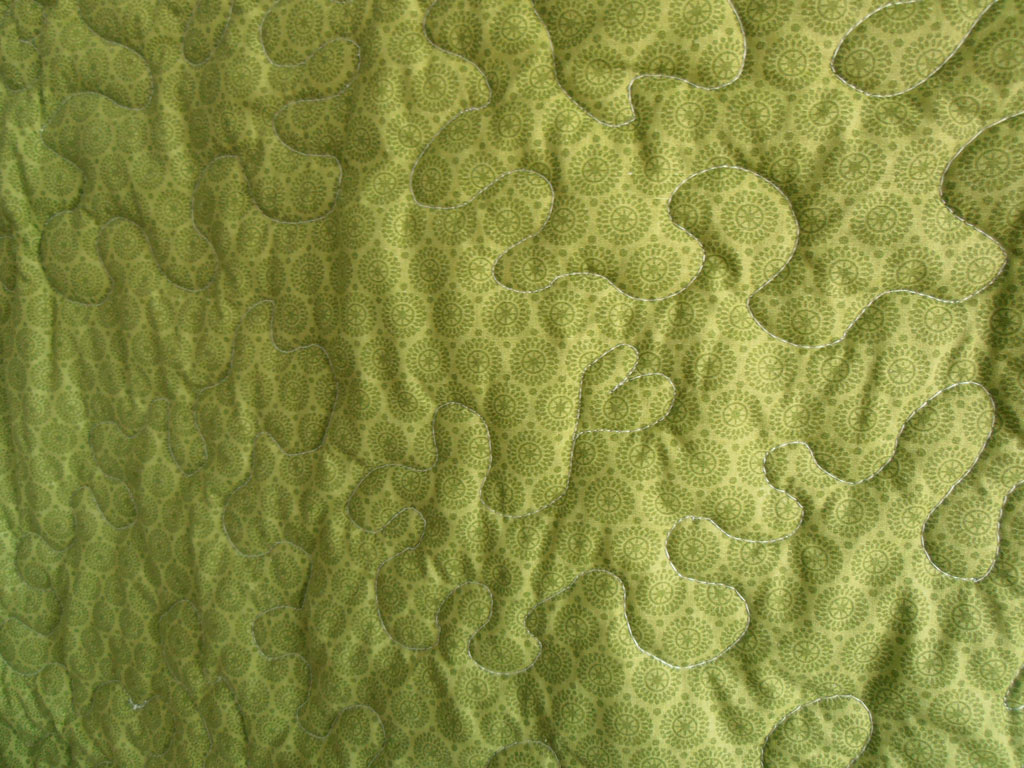
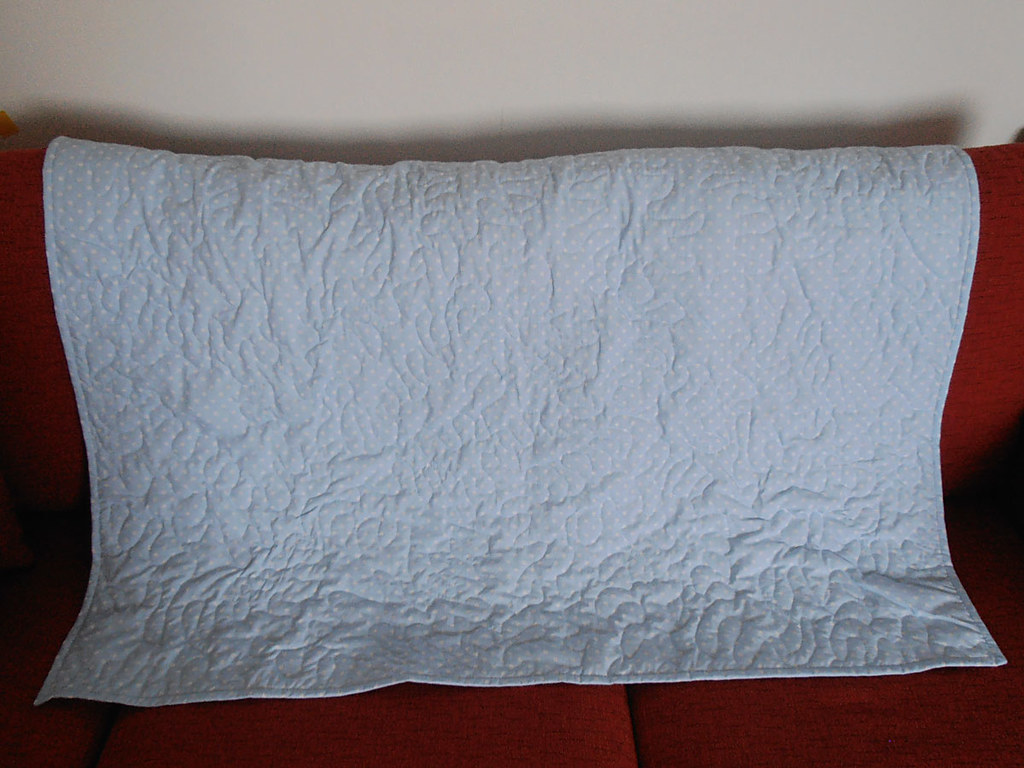
I quilted it with my standard free motion squiggles. This is my fourth quilt that I free motion quilted. And guess what? Instead of getting better at it, I'm actually getting worse. I had so many puckers at the back, pinched the backing and sewed bits of it together too many times to count, ripped stitches out just about every 15 minutes, swearing all the time. This quilt gave me so much anger and frustration. Not even chocolate helped. 

Lessons for next time: use more pins! And try to quilt so that the pinned parts are to the left of the machine, flat on the table and not getting wrinkled on the right, under the sewing machine.

The only saving grace is the fact the front is so colorful you can hardly even see the stitching.


None of the fabric have been prewashed, so I'm hoping once I wash the quilt the puckering on the back will get smaller. 


But all in all I'm pretty satisfied. This will be my new couch quilt for the winter months - the last one I made was way to short to provide enough warmth. The real question now is - where am I going to store all these quilts I'm making?
Sunday, May 5, 2013

Little lavender pillows

As I was packing my hand knit sweaters away for the summer, it occurred to me that it would probably be a good idea to protect them from moths and other bugs. So I decided to make some lavender sachets.


First up (actually the last one I made) - little quilted star. The points don't match, the seams are way too bulky, and sewing and ironing all those little triangles nearly drove me mad, but at least I tried. I like this star block, I will probably make it in a bigger block. The one above measures about 8 cm. The entire pillow is about 12 cm. That's actually pretty large for a lavender sachet, but I bought way too much, and I'm trying to use it up quickly.

So yesterday was pretty much all about sewing tiny pieces of fabric together, trimming the sewn material into squares, sewing little pillows and stuffing them with dried lavender buds. And then blind stitching the opening I used to pour the stuffing in.

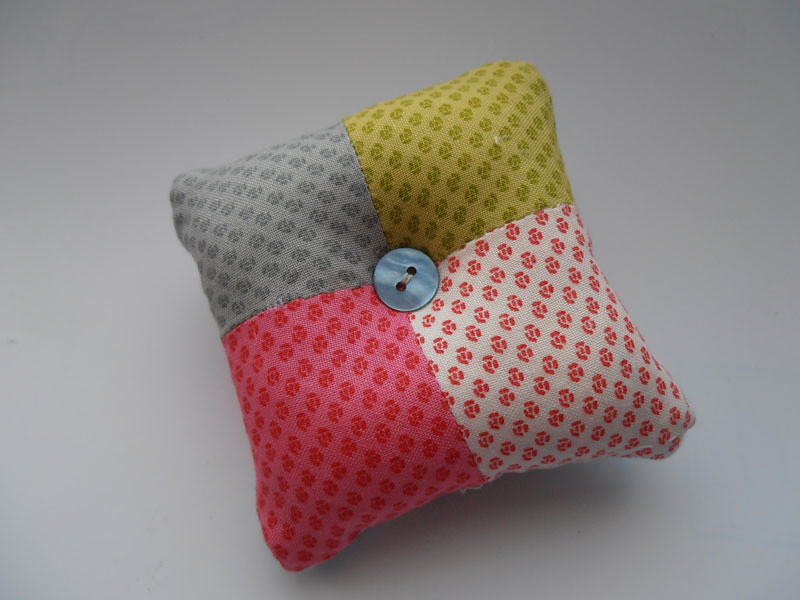
I have tons of scraps from my quilting projects, so much in fact, that I realized that I could make a massive amount of tiny sachets, or pincushions. I'm well on my way of doing just that. 

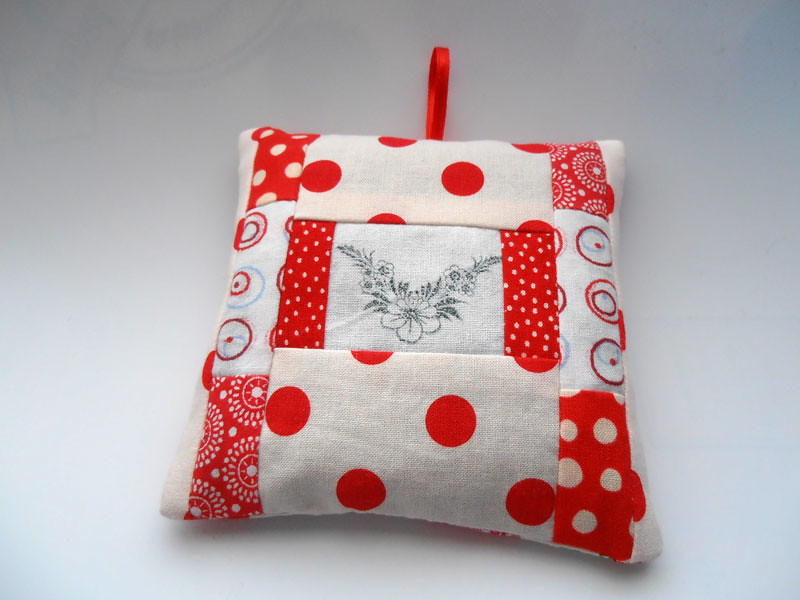
Here are all the lavender ones:


These two above include my attempts of stamping on fabric. Too bad I don't have a lavender stamp. It was either the flowers or a little tractor and a garden bucket. So I chose the flowers.


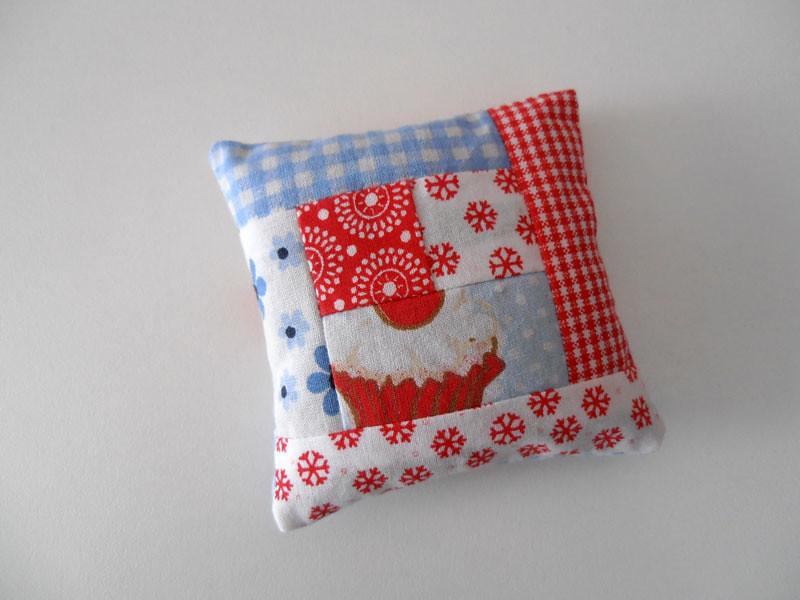
Little log cabin quilt block. These little pillows are a great way for me to try out different quilt blocks. 


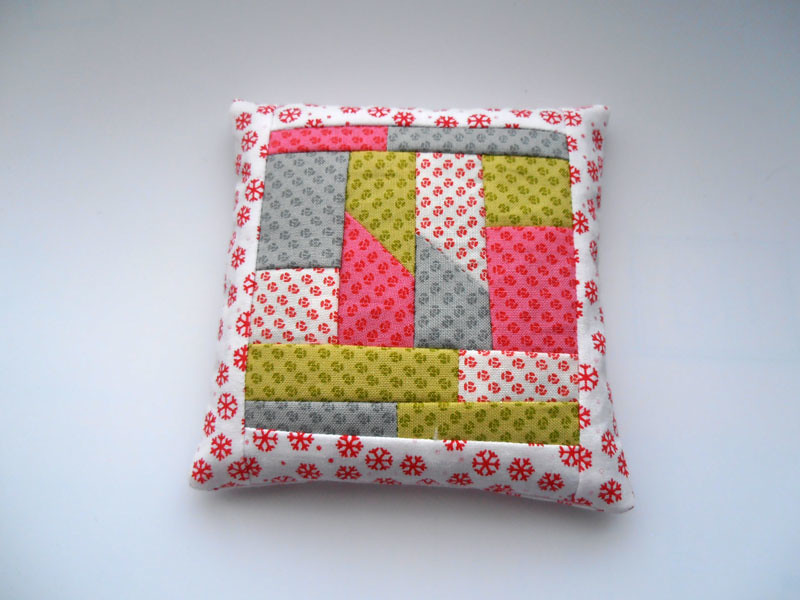
Totally randomly pieced scrappy block. I just kept adding more and more fabric until I was happy with the size. It turned out great, I think.

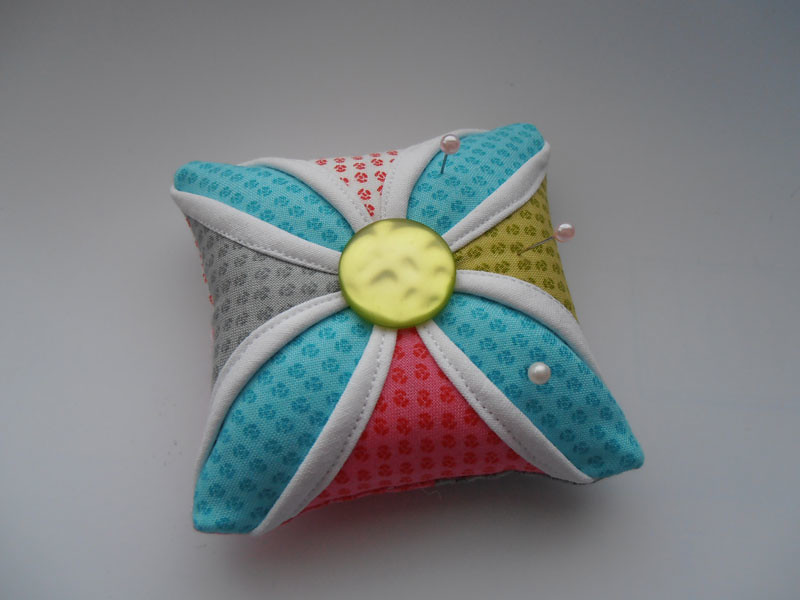
As I was surfing in search for cute block patterns, I stumbled onto this tutorial for a Cathedral window pincushion. Instant reaction: must make this. How cool does this thing look? And it's so easy!


Sunday, April 21, 2013

Linda's Quilt

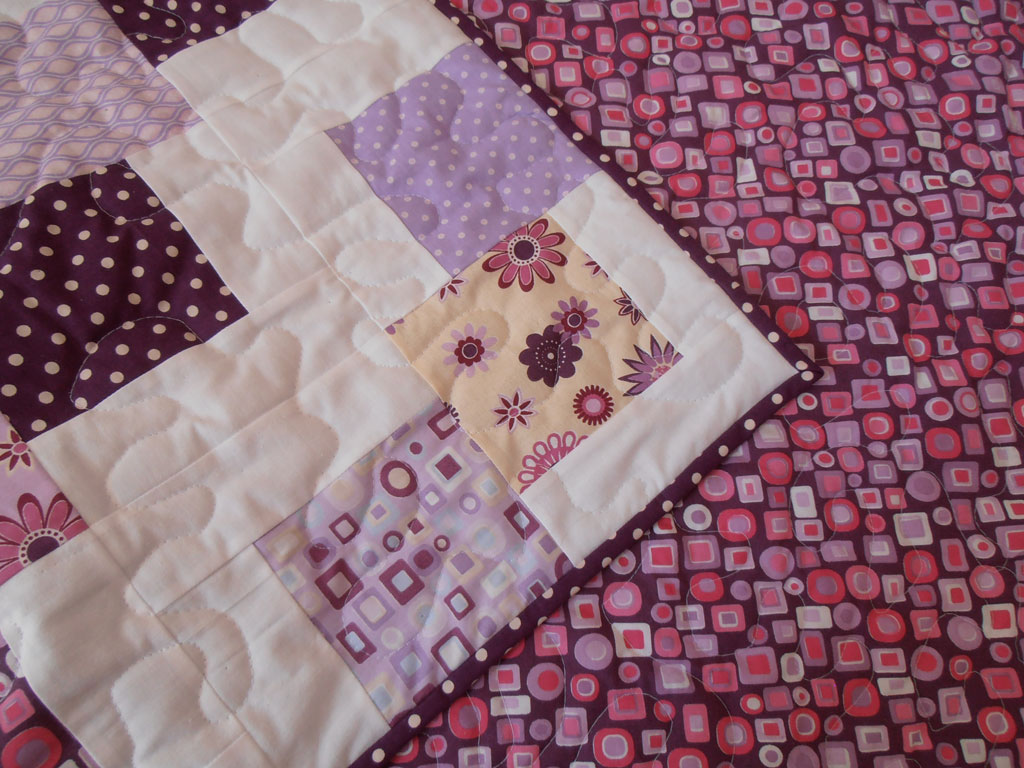
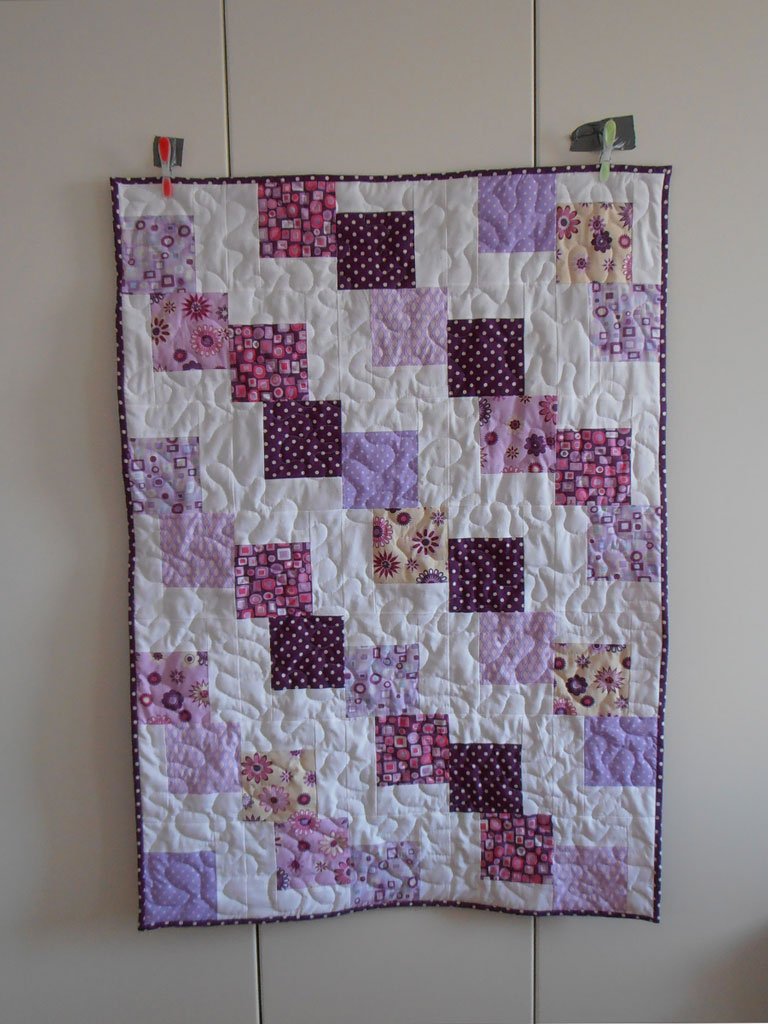
My quilt for my friend's baby is finished. She gave birth to a baby girl a while back, so I decided to make a quilt for little Linda. As far as colors go, I realized that my talent for combining colors is practically non-existent, so I bought a pack of fat quarters in my local quilt shop - I left the color combo choice to people smarter than me. I like the purples and lilacs, I just hope baby Linda will too. Or, you know, her mother ;)


This quilt only took me a week to finish. I got the fabrics on Monday, prewashed and cut them on the same day. On Tuesday I pieced together the 35 blocks that make this quilt. Squared them all up on Wednesday, sewed all the blocks into rows and finished the quilt top on Thursday. Basted on Friday, did free motion quilting on Saturday and finished sewing the binding on Sunday. One week. I probably would have finished sooner, but there's this thing called work that I have to go to. But hey, it enables my yarn and fabric purchases, so it's fair trade. 


The pattern for this quilt is called Falling Charms. I found the tutorial on the Missouri Star Quilting Co. on youtube. I love, love their videos. This is a really easy one, and it comes out super cute. 


My original plan was to quilt this using straight lines. So I sewed four lines along the long side of the quilt. And then I had to rip all those long lines out. Turns out that you really need a walking foot for straight line quilting. Really, you do. 
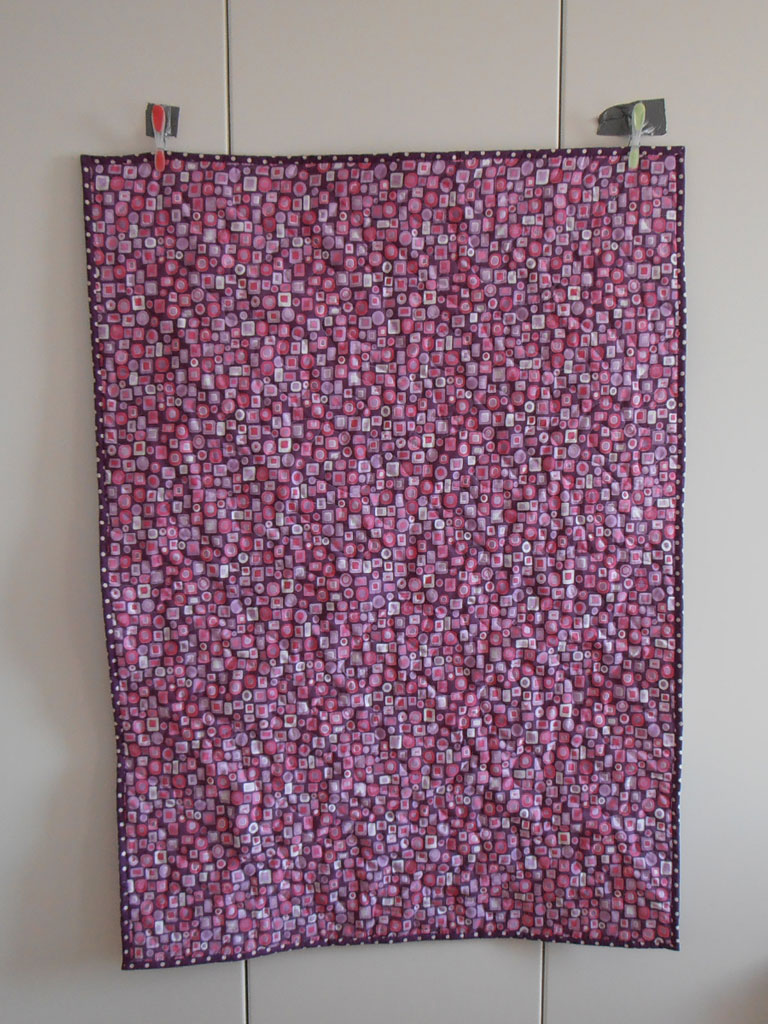
My backing fabric bunched up and sort of got pulled in the direction I was sewing in. Since I sewed all the lines in different directions, I got a wrinkly mess on the back, that kind of looked like chevron. Not cool. So I ripped everything out, cursing my stupidity all the time. Note to self: check what's happening on the back of the quilt! 


Eventually I did my standard free motion stippling. And then I went out to get a walking foot. They didn't have it in the store, so they had to order it. I'm impatiently waiting for the shop lady's call, can't wait to try that foot. I have such high hopes for it. ;) 

Linda's quilt measures 82 x 113 cm (45x32 in). The batting is polyester, everything else is cotton.


Sunday, April 14, 2013

Spring = Sewing

After a long, cold, rainy winter, the sun is finally here. For some reason, this means that I'll pull out my sewing machine and sew something. Must be all the light, my brain and my eyes tell me that the conditions are optimal for stitching time.

Another reason is a friend who just had a baby girl. I'm making her a baby quilt. It's all I've been doing this past week - cutting fabric, pinning, sewing. The quilt is almost finished, I just have to hand-sew the binding on the back. 
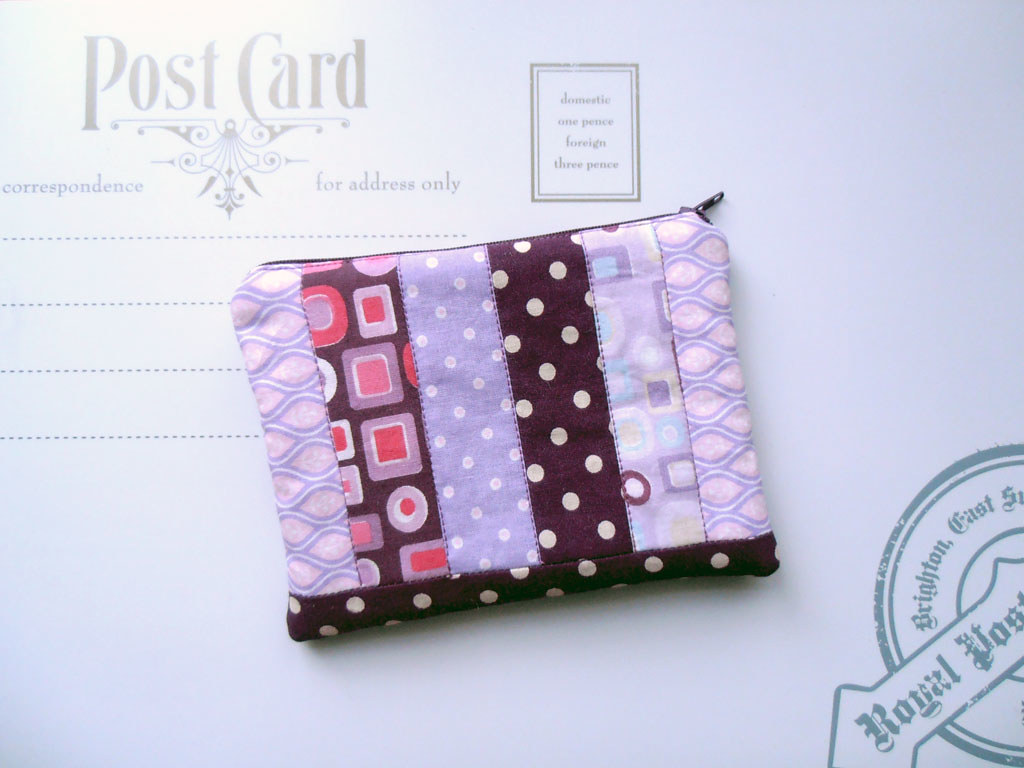
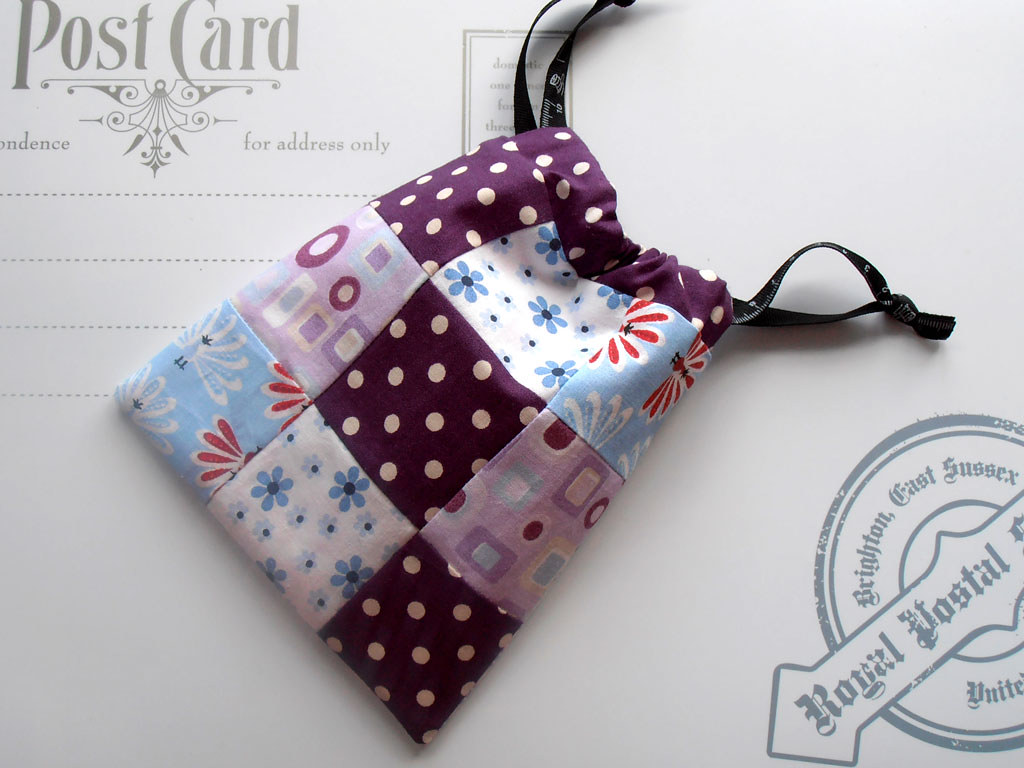
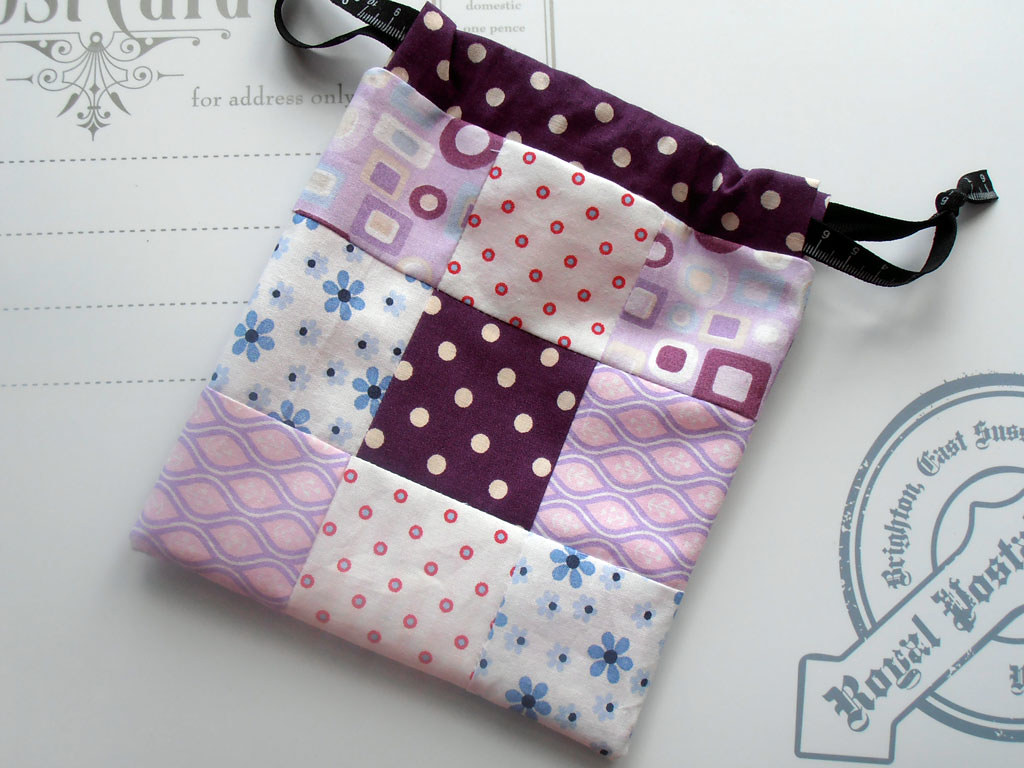
As a break from all the quilt-sewing, I sewed some random pouchy thingies from the scraps I had from the quilt. 

A zippered pouch that turned out meh. I always sew too close to the zipper tabs, and the result is a distorted looking top once I turn the pouch right side out. Note to self: Don't sew so close to the fricking zipper tabs. 


A drawstring pouch from this tutorial. No idea what I'm going to put in it, but it turned out cute.


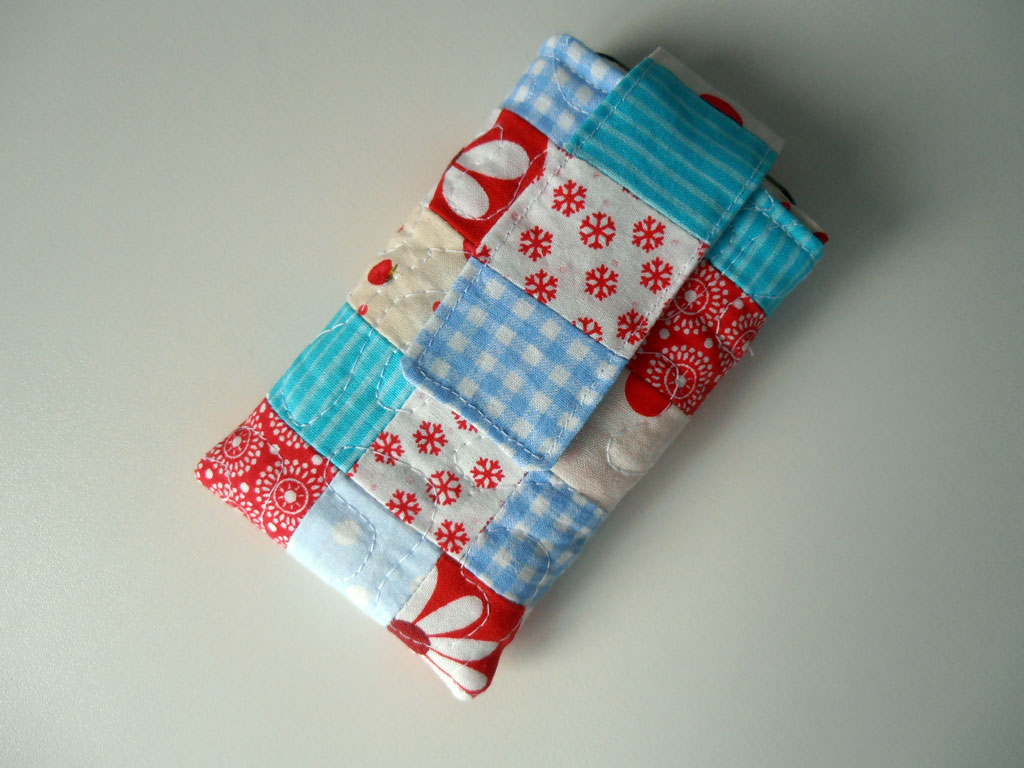
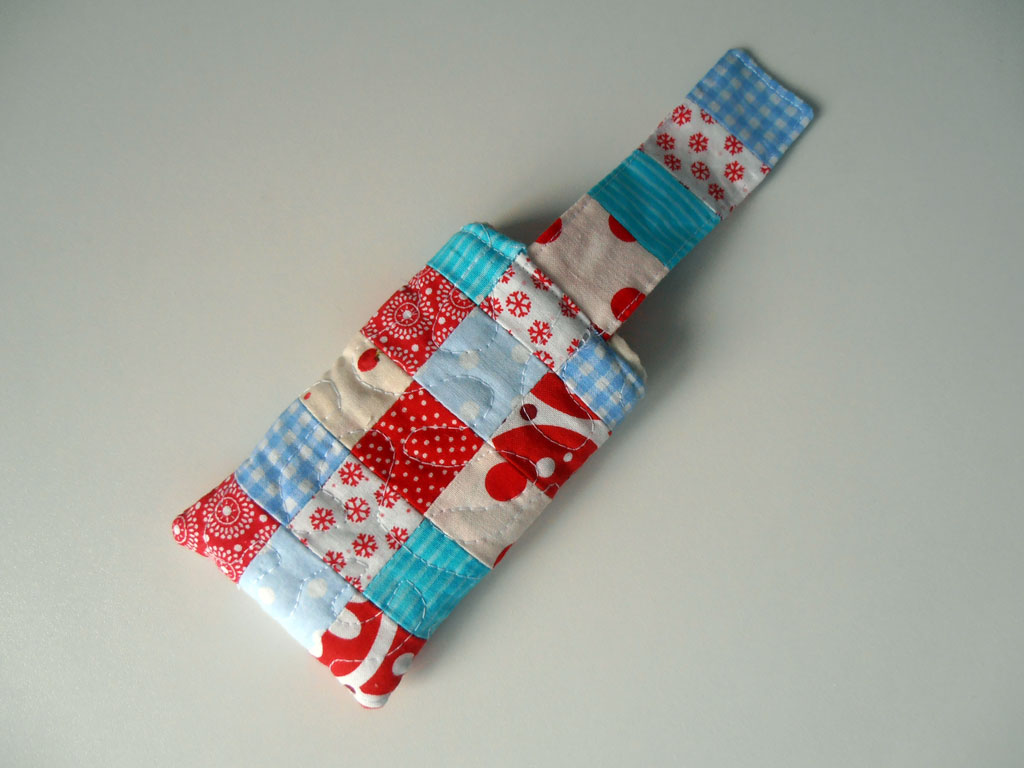
An iphone cover disaster. Let's ignore the fact that my points don't exactly match up, my measurements are also off. It's a tight fit for my phone and a bit too short too. 

But the biggest disaster was my idea to iron the seams open. Once I started to tug and pull while I was sewing these seams started to pull apart. Not to self: Iron seams in quilting projects like this to one side. Or at least secure them by backstitching.

I also did a crappy job on sewing the lining, so this cover will be one of those things that I'll use until it gets dirty, and then it's going to the trash. 


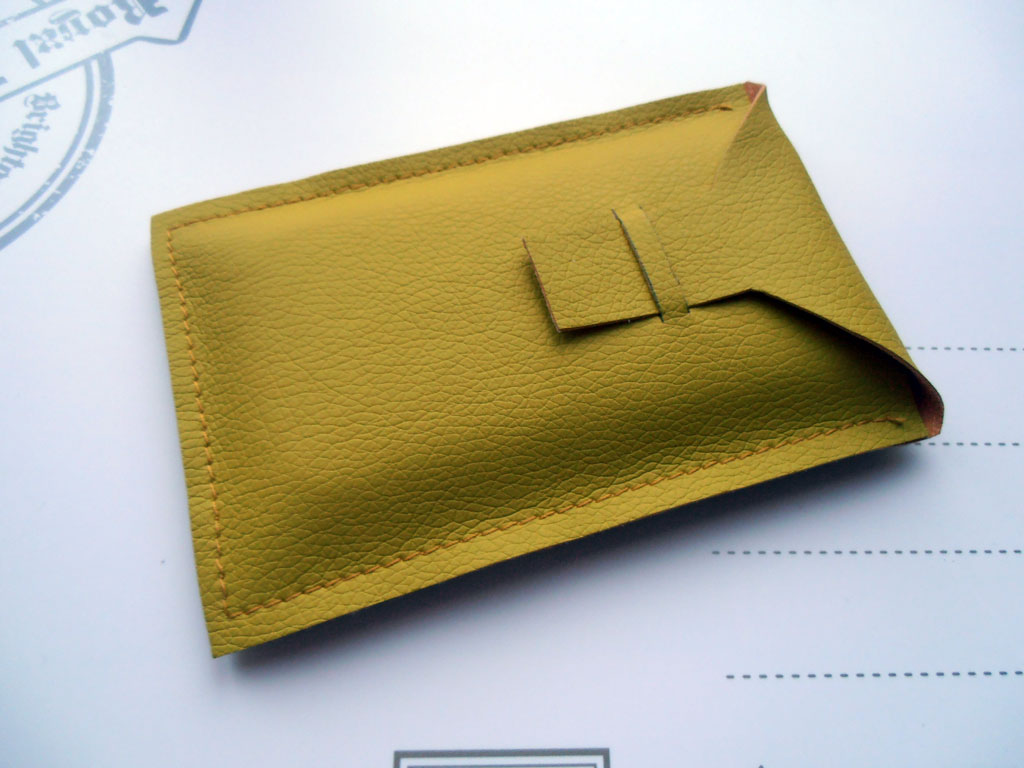
Fake leather iphone case. I saw this color in the fabric store and just couldn't resist. I bought about 20 cm in width, just so I could try to sew with it. Also had to buy a new set of leather needles for my machine. I'm pretty satisfied for my first try. And pretty proud of my Elna machine. It really does sew everything. 


Sunday, October 7, 2012

My quilt ;)

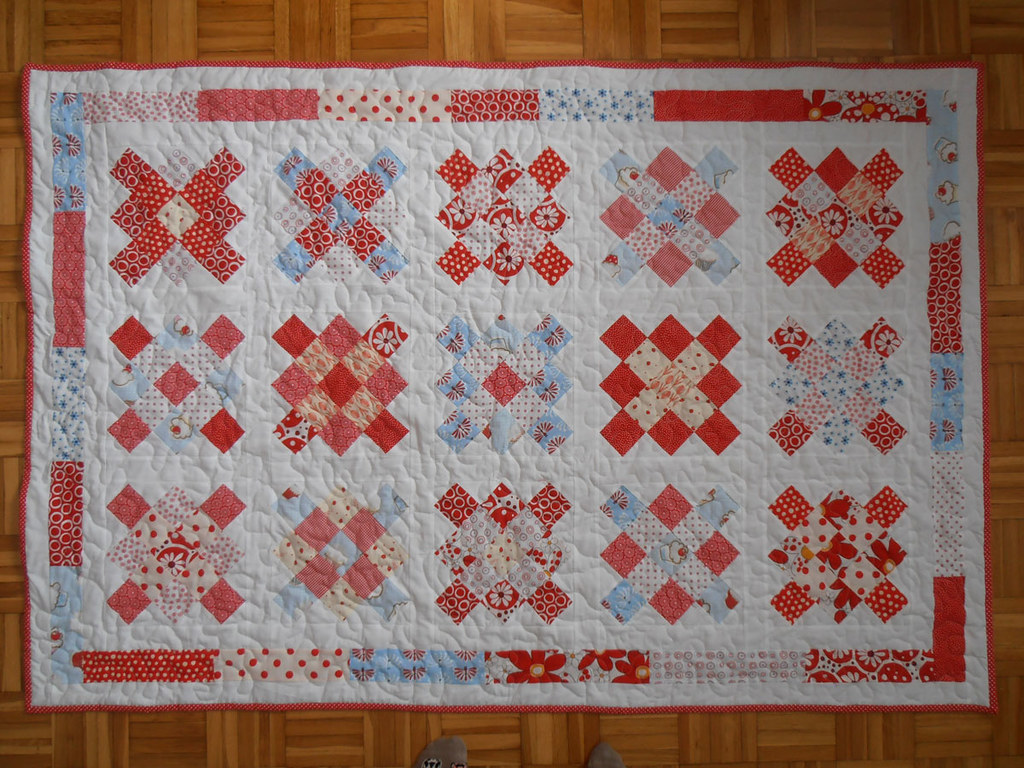
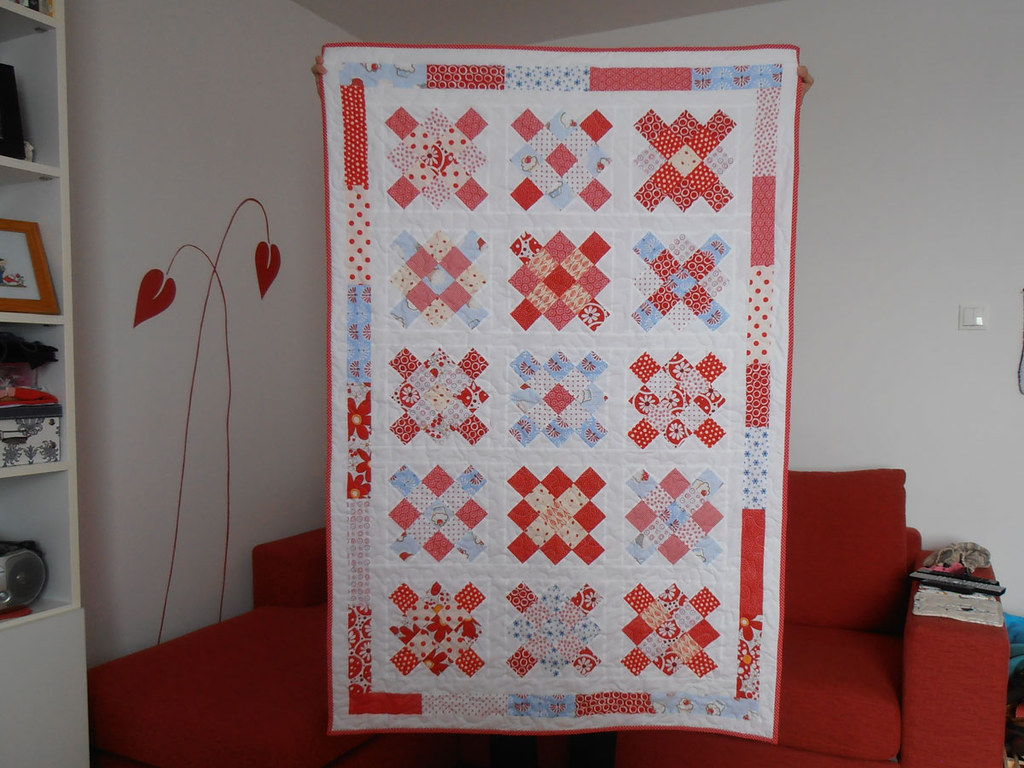
Guess what? I made another quilt. I stumbled onto this tutorial for a great looking quilt block called Granny squares. The moment I saw it, the little voice inside my head went: You must make this. And it was a great opportunity to use up the fabric and batting I had left over from my previous quilt. I added some red fabric from my stash, the stuff I originally bought because I wanted to make a bed-sized quilt. The chunk of batting I had left measured about 60 x 42 inches, so my quilt is about the same size - Google tells me that this size is a lap quilt. 


The piecing of the blocks was relatively slow - each block consists of 25 little squares that need to be sewn together. Simple, but time consuming. But I really like the result, it's an effective block. 


I quilted the whole thing with free motion squiggles. Mostly because I wanted to secure my stitching in the pieced blocks a little more - some of those fabrics were really fraying. 


The quilting is better that it was the last time, but still far from perfect. It's so freaking hard to maneuver the quilt around when you don't have a decent sewing surface. I need a conference table, I really do. 

For this quilt I sort of grouped my little sewing table, my computer table, my ironing board and the TV table. Made the Alps from furniture, because each table was different height. And my quilt would regularly fall into the empty spaces between them. The amount of curse words I uttered would probably set a record. 


I managed to pinch the fabric on only two places, so that's an improvement. And I learned how to bury the threads in the quilt, new skills are always good.


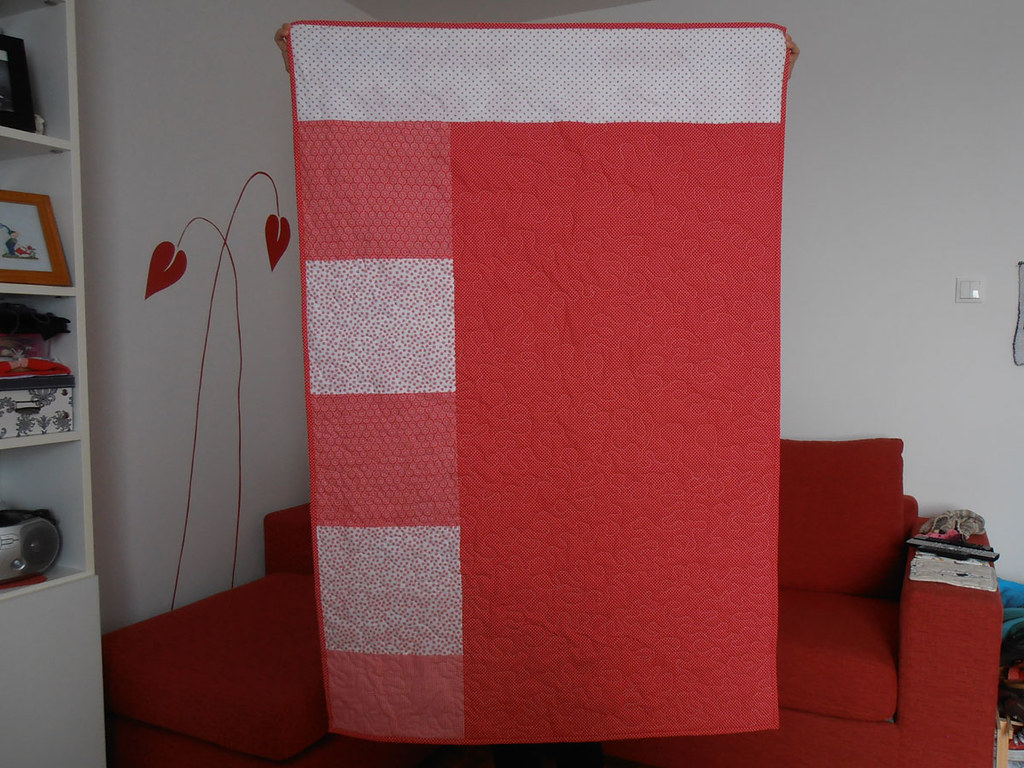
I didn't have a big enough fabric chunk that would cover the whole back, so I combined the stuff I had. 


The whole quilt is perfect for lying on the couch while watching TV, reading or knitting. 


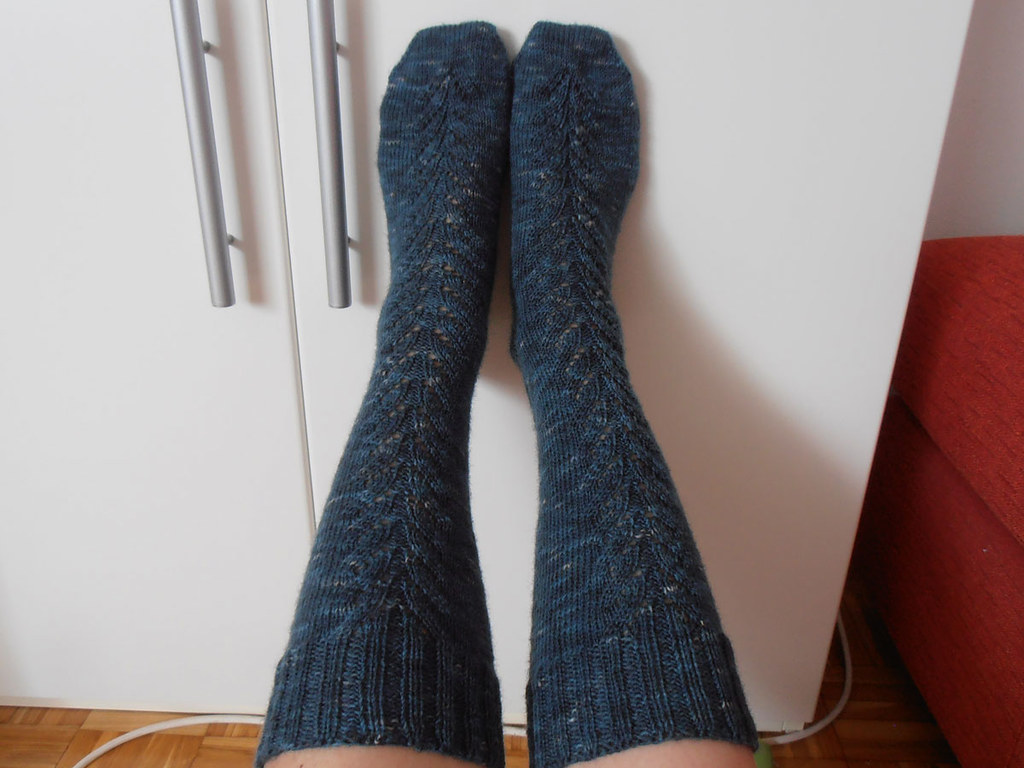
And that brings me to my finished knitting project. Express Lane socks. The socks that almost took me a year to knit. No idea why, the pattern is great and not that complicated. The yarn is Regia, one of those 100 gram skeins. I decided to use the whole thing, so the socks are almost-but-not-quite knee socks. 


Next project? Well, since I put my sewing machine away and finally vacuumed all the little bits of thread my whole apartment was covered in, my next project will be good old knitting. Such a clean craft, with barely any mess. I'm starting the Middlefield Pullover.

Tuesday, September 11, 2012

Manuel's Quilt

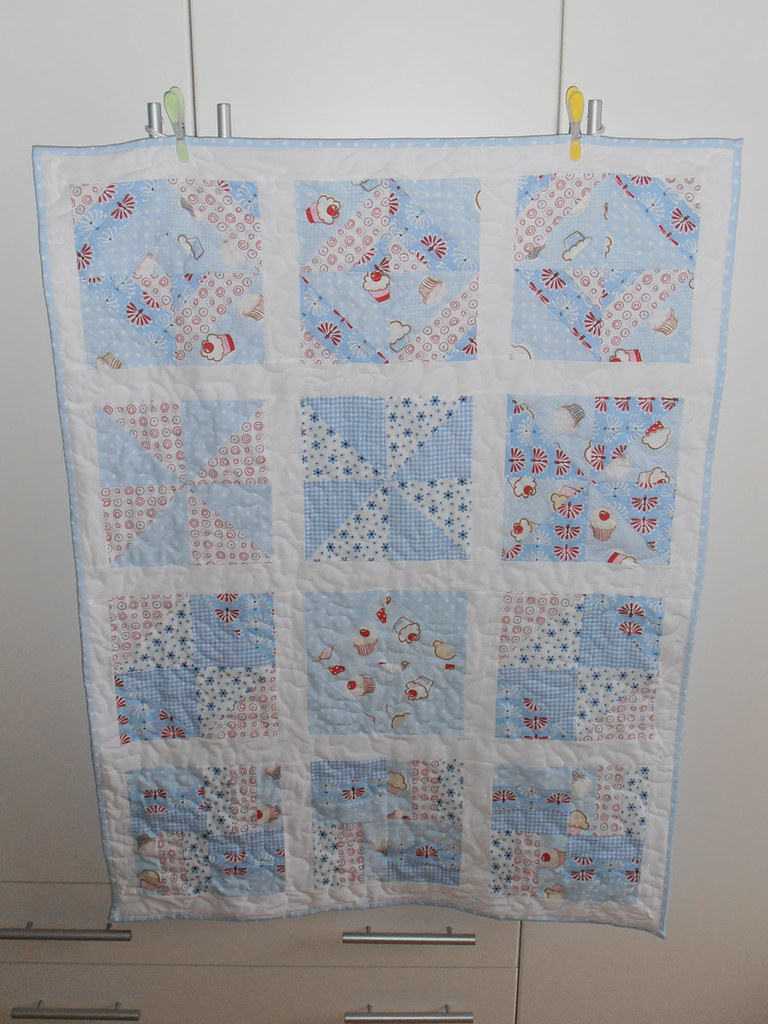
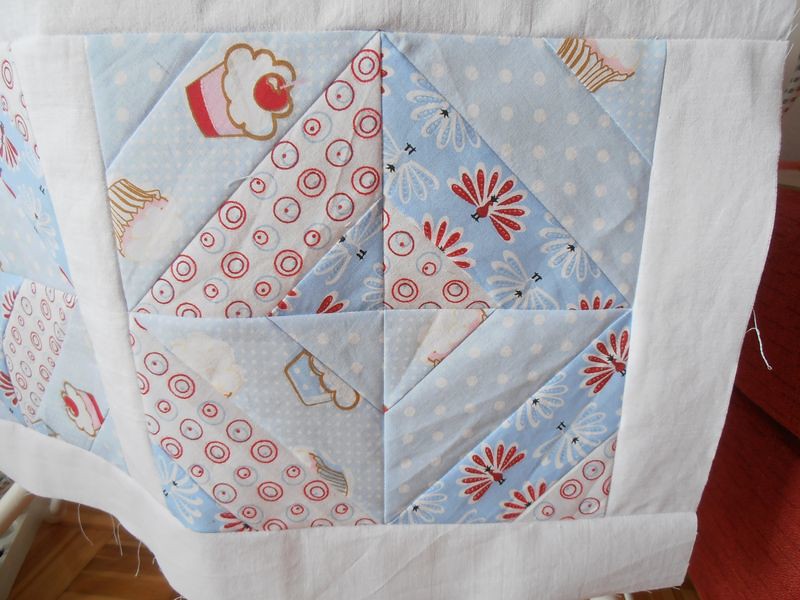
The baby quilt for a friend's little boy is finished! There are a few mistakes, a couple of weird bunching up of fabric, but all in all, I'm pretty proud of myself. I kind of want to keep it ;-) But alas it's too small for me, the finished measurements are 85 x 113 cm (34 x 45 inches).


I used six print cotton fabrics for the squares, and solid white for the sashing. The back is also cotton, one of the fabrics I used for the square. 
When choosing the fabrics, I was going for soft blue palette, boyish colors, but still something soft (and pastel - somehow when I think of baby stuff, they're always in pastel colors). I'm not so sure I managed to choose the right colors for a boy, with all the red bits it kind of looks girly. What do you think? 
 

Sewing the blocks was really fun, even tough it took a couple of test runs with scrap fabric and a lot more math than I expected. Each row has the same block, but in different fabric combinations. Since I chose really similar fabrics, their colors sort of blend together into one. I'm not sure if that's a good thing or not, perhaps I should have added a little more contrast? I spent at least an hour at the store trying to match up the colors. Who knew choosing a color palette would be so hard? I should probably do some research about colors and contrasts before my next fabric purchase.

The batting is thin polyester I bought in a roll. I still have some left, just enough for a little couch quilt. That's going to be my next project.


It's quilted using free motion stippling. (Check me out using the quilting lingo ;-). Way harder than it looks - thank God the front of the quilt is mostly white. I find it really hard to control my speed and to maneuver the quilt under the needle at the same time. What can I tell you, my arm/leg coordination was never really good. As a result, some of my stitches are extra long, while others are tiny. But apparently practice makes perfect, so I'm estimating by the time I make my 10th quilt, I will have mastered the stippling. Stay tuned ;-)


On a couple of places I pinched and sewed the backing fabric, creating stupid little folds of fabric. I later unpicked those stitches and tried to fix it by hand the best I could. It's far from perfect, but still way better than it looked before. Advice for this problem: Sew slowly and make sure the backing fabric doesn't wrinkle as you move the quilt under the needle. 


As for the time spent sewing - I managed to sew all the blocks in two days. I was on a roll. And also on vacation. Adding the sashing and basting and quilting took another two days. One more day to attach the binding and an eternity to sew it to the back by hand. Just kidding, it was more like an hour each day for four days.


Final verdict on quilting: fun. Can also be used as a workout program, since you have to press every seam you sew. That means pin the fabrics, sit down, sew, get up to iron, repeat in an endless loop. But the finished quilt makes you feel very accomplished, so it's worth it.


All that's left to do now is to wash the quilt (and pray that no seams come apart in the washing mashine) and to send it to the new mom! I hope she'll like it as much as I do.

Tuesday, August 28, 2012

Random practice pieces


I generally don't like to make practice pieces. I'm more the 'let's do it and see if it works out' kind of girl. But my latest hobby is quilting, and I wanted to make a baby quilt for a friend who's expecting. And a quilt is a pretty big thing to mess up, especially if it's a gift. So I decided it would probably be a good idea to practice on smaller pieces first. 

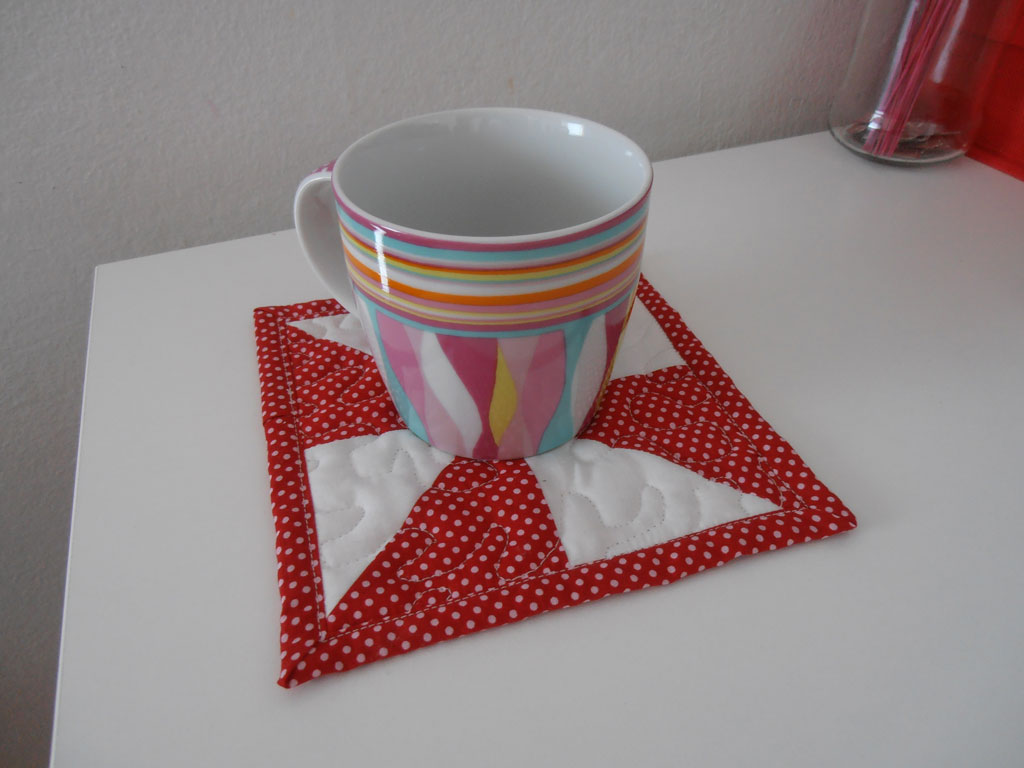
I dug into my fabric stash and pulled out some odd pieces and went online to find tutorials for quilt blocks. Sewed a bunch of squares before I decided I could probably make something useful. So I made a potholder and a placemat.

Pinwheel block. The points of the pinwheels should be pointier.

Star block.

I started with the center block and then pretty much just added more fabric around it, until I used up all of this blue leaves cotton. The evening star block was a lot of fun to make, even though I didn't manage to match up all my points perfectly. But this was a practice piece anyway. I quilted it 'stitch in the ditch' style. Learned that I should also probably practice sewing a straight line. 
Great Youtube tutorial for the Star block can be found here. 


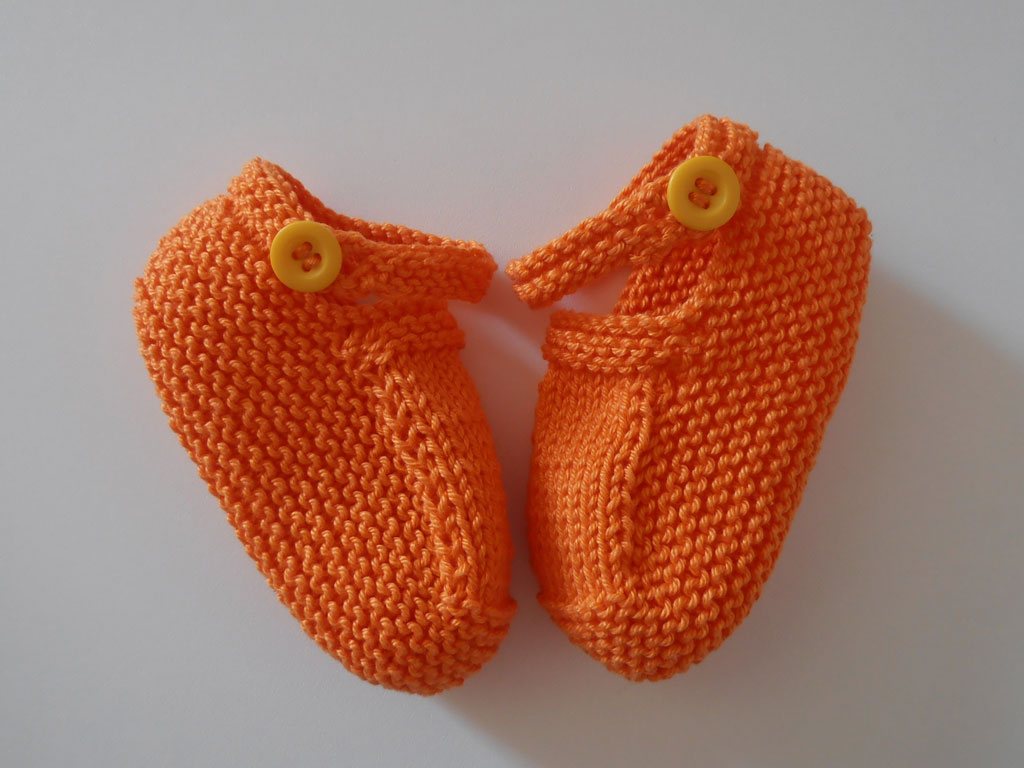
A friend asked if I could knit her niece some baby booties. So I practiced that as well, since I've never knit anything baby sized before. I just need to present them to the friend and see if she likes this style before I knit the real thing.

OK, so that was it for the practice pieces, I'm going back to working on the actual baby quilt. I started the thing back in July, I'm almost finished now, just hand sewing the binding to the back of the quilt. It's taking forever. I'll probably bomb you with tons of pictures once I finish it completely. For now, just a little sneak peak: 


Saturday, June 30, 2012

A quilt shop! In my town!

Amazing discovery! Rijeka has a quilt shop. An actual quilt shop. They sell finished quilted stuff such as pillowcases and blankets, but they also have oh so pretty cotton fabrics they sell by the meter. They even have charm packs and jelly rolls. Jelly rolls in my town. I am super excited, as you can probably tell. Do you know what this means? No more online ordering of fabrics and, more importantly - no more postage and customs fees. Yay!

ATELIER COTON DECOR RIJEKA, Križanićeva 7a

This is a great step forward in my quilt making plan. You see, I plant to make a quilt for my bed. It's going to be red and white, to match my furniture. I've been slowly collecting fabrics for the past year or so, most of them I ordered online, disappointed in the utter lack of cute fabrics in my town. Up until now. 

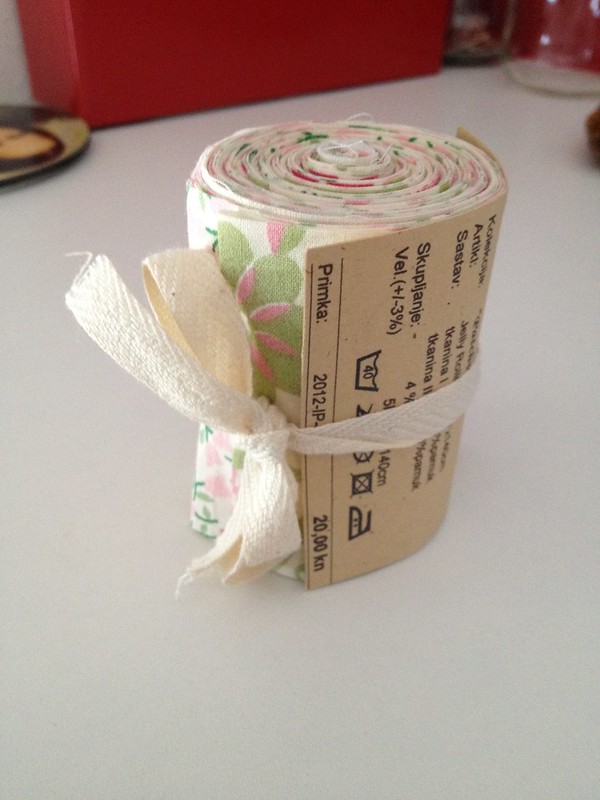
But seeing how I want my big quilt to be perfect, I have to practice first. So I bought a single jelly roll.


It has five strips of 7,5 cm x 140 cm of cotton fabric. Combined with some fabric from my stash and store-bought bias tape, this jelly roll produces this: 

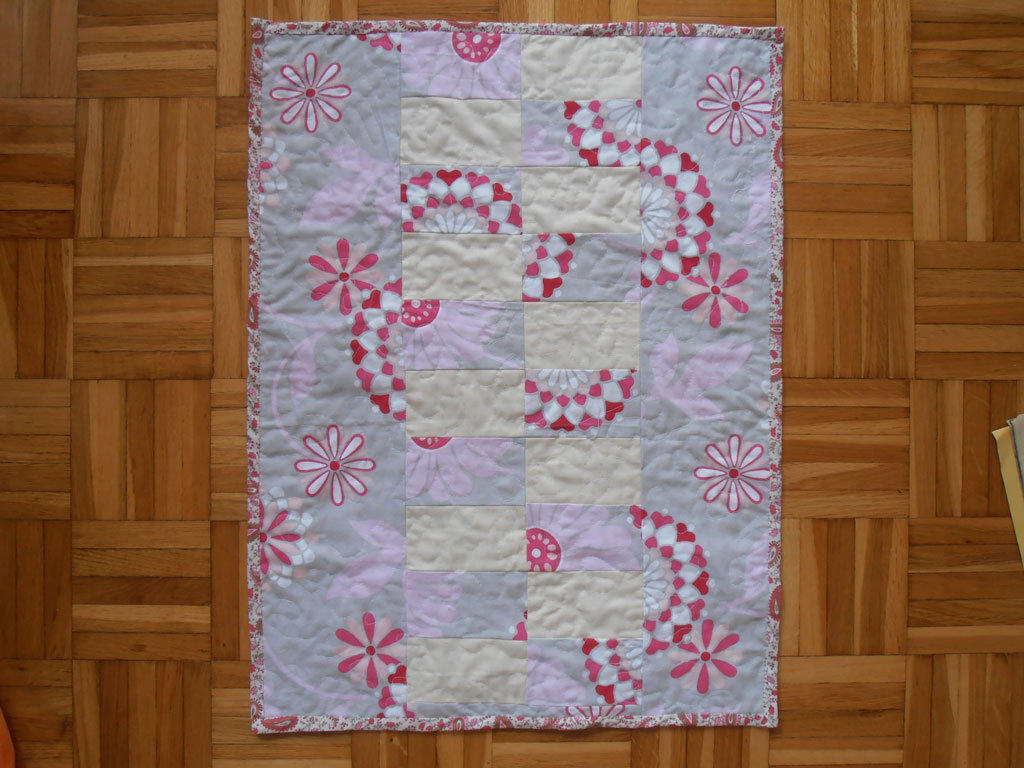
Mini quilt I have no idea what to use for, but I'm super proud of it.

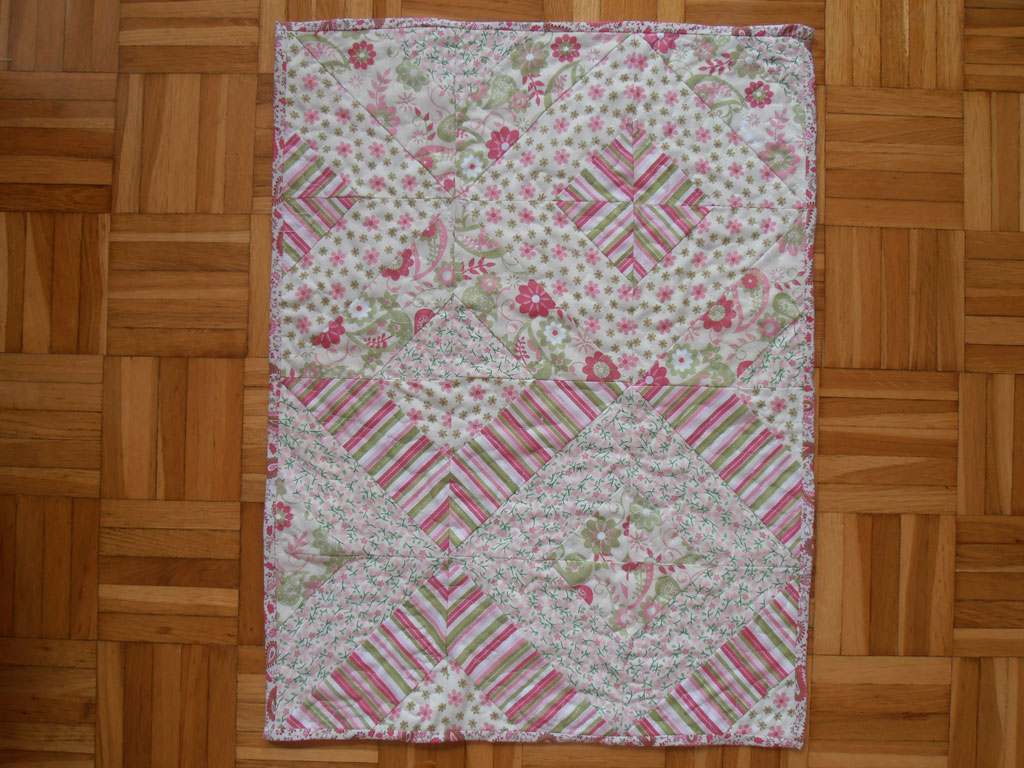
The back. The cream bits are where I used the 5th strip from the jelly roll.

I didn't have any batting, so I used leftover flannel from my pajama making days. The floral pattern of the flannel kind of shows through the cream parts of the backing, but I think it adds to the charm and the general eye piercing loudness of the quilt. 

The piecing of the squares went super fast and was probably the easiest part. I had so much fun arranging the finished blocks on my floor, trying to decide how to sew them up. I probably needed one more jelly roll to make something of a flowing pattern, but this was for practice anyway. 

The actual quilting, well, that was a pain in the ass. And something I really need to practice before I take on an actual size quilt. Controlling the fabric by yourself is really hard. In some places I went to fast, which produced large stitches, and in others I barely moved the quilt, resulting in tiny stitches. I also learned why you need gloves to quilt - your palms just can't grip the fabric and make it move the way you want to. 

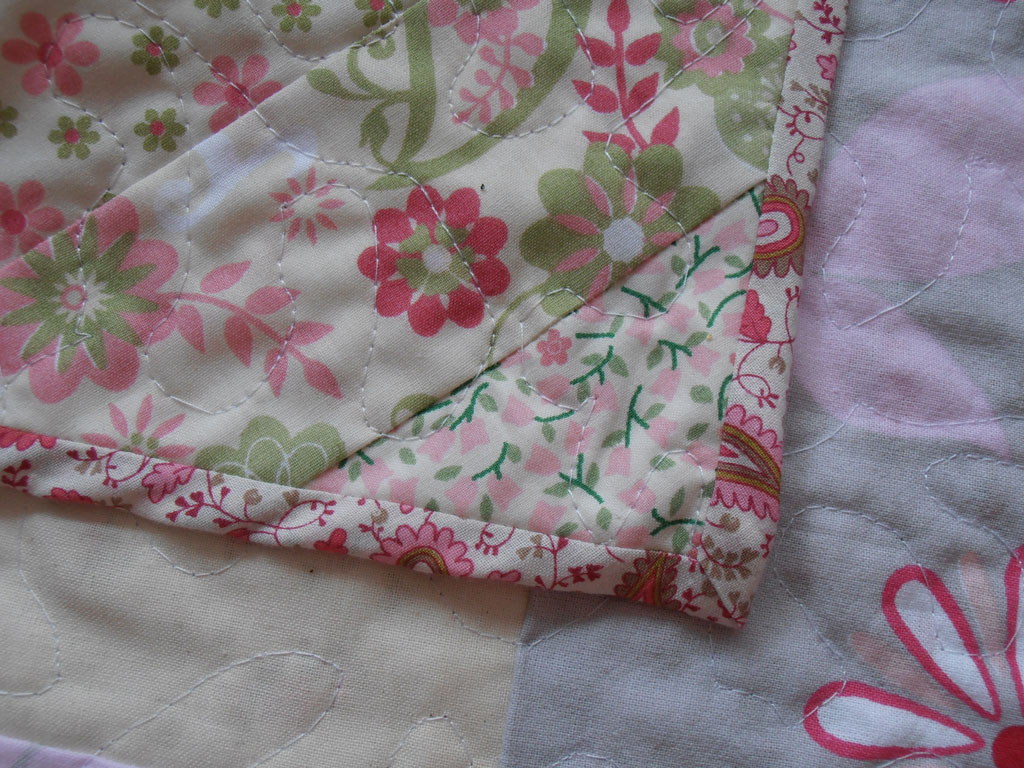
The binding went okay. I learned how to miter my corners (thank you Amy Butler, finally some use from In stitches) and really put my patience to the test when sewing the binding on the back. With blind stitches. By hand.  

And now, let me bomb you with way too much images for one post.

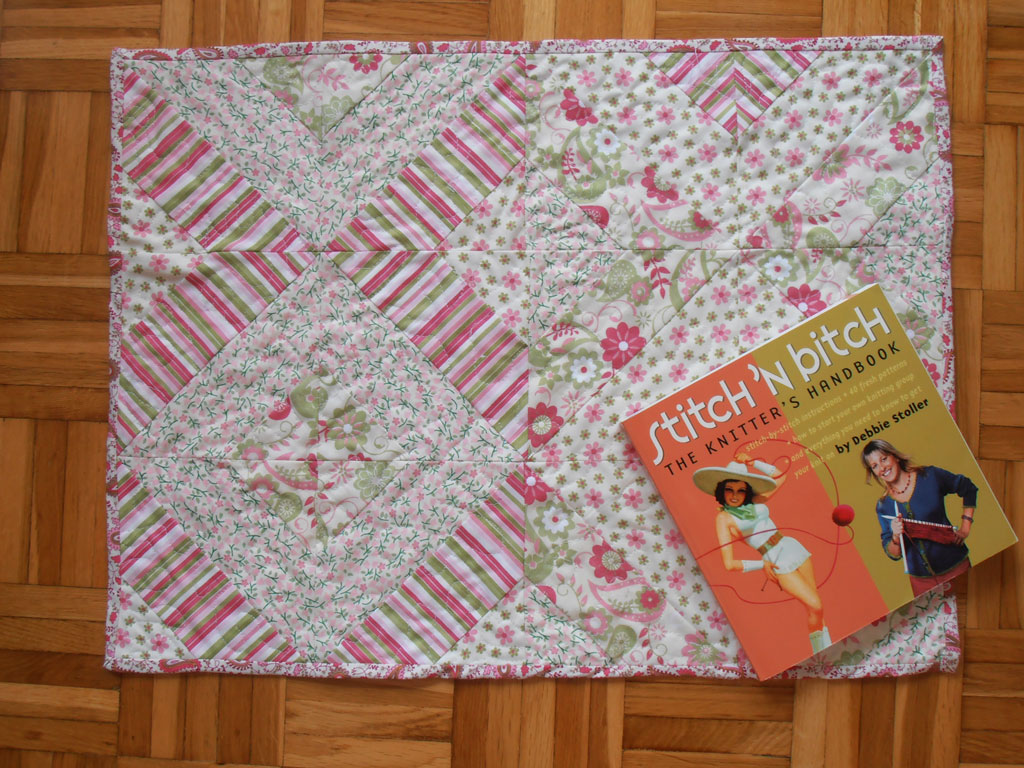
Stitch'n'bitch to demonstrate the size.

Some corners are matched up better than others.
Blind stitching the binding on the back took forever.
There's a great bunch of video tutorials I used in making this quilt, all pretty much from the same lady: Missouri Star Quilt Company YT channel.