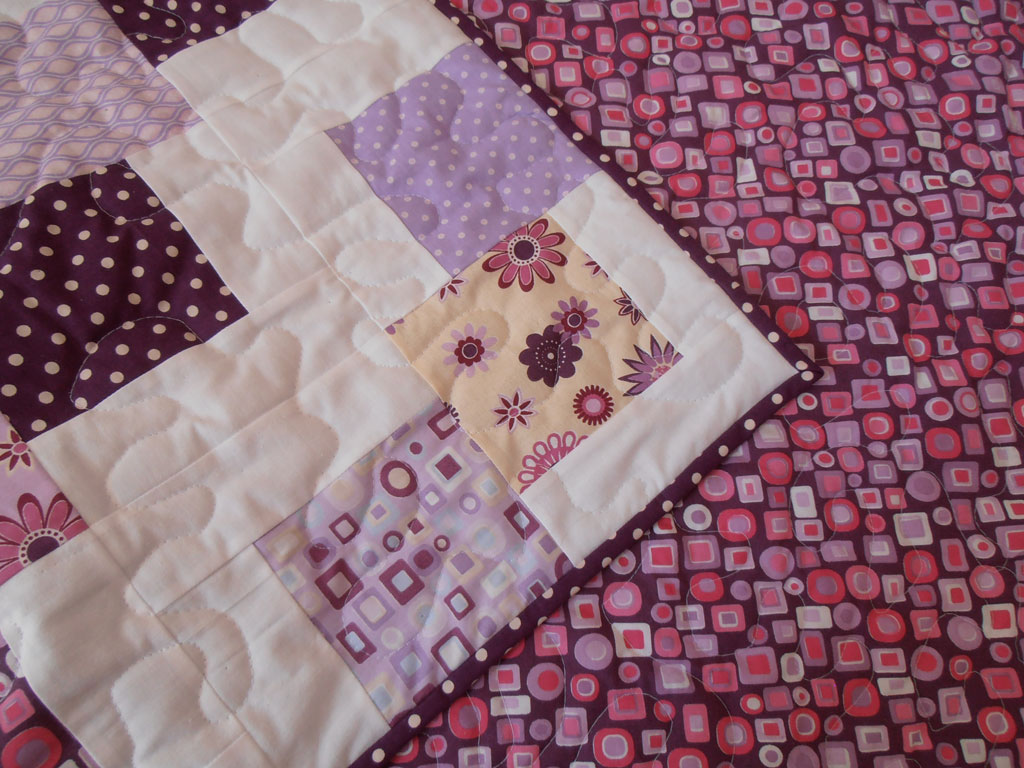
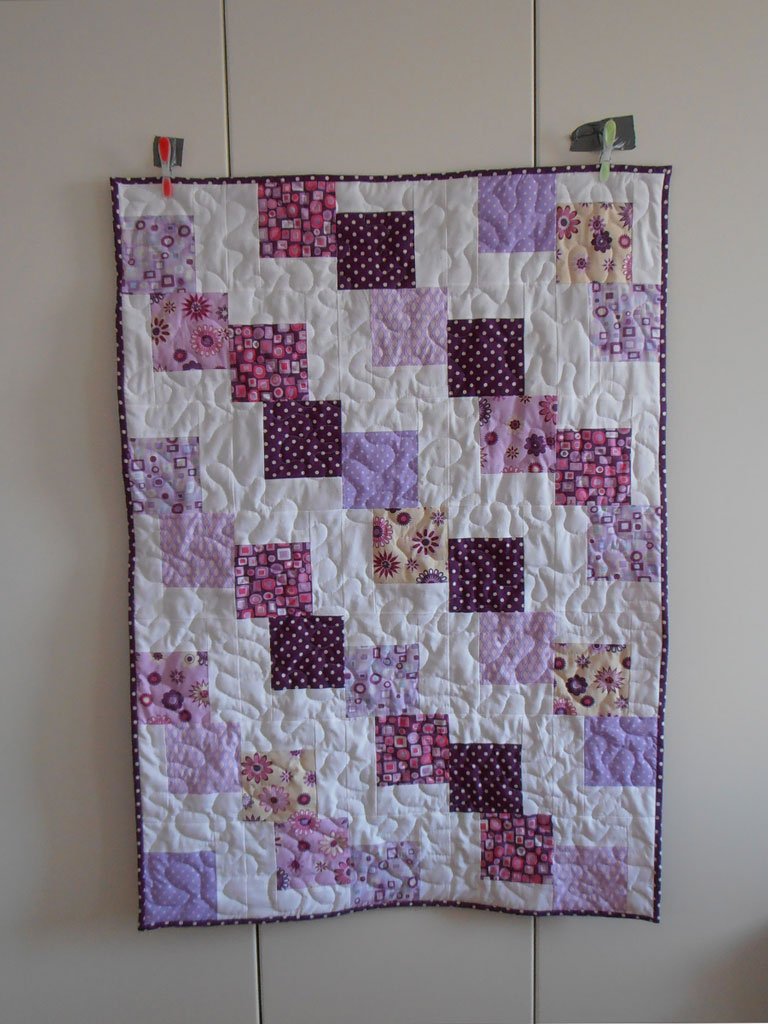
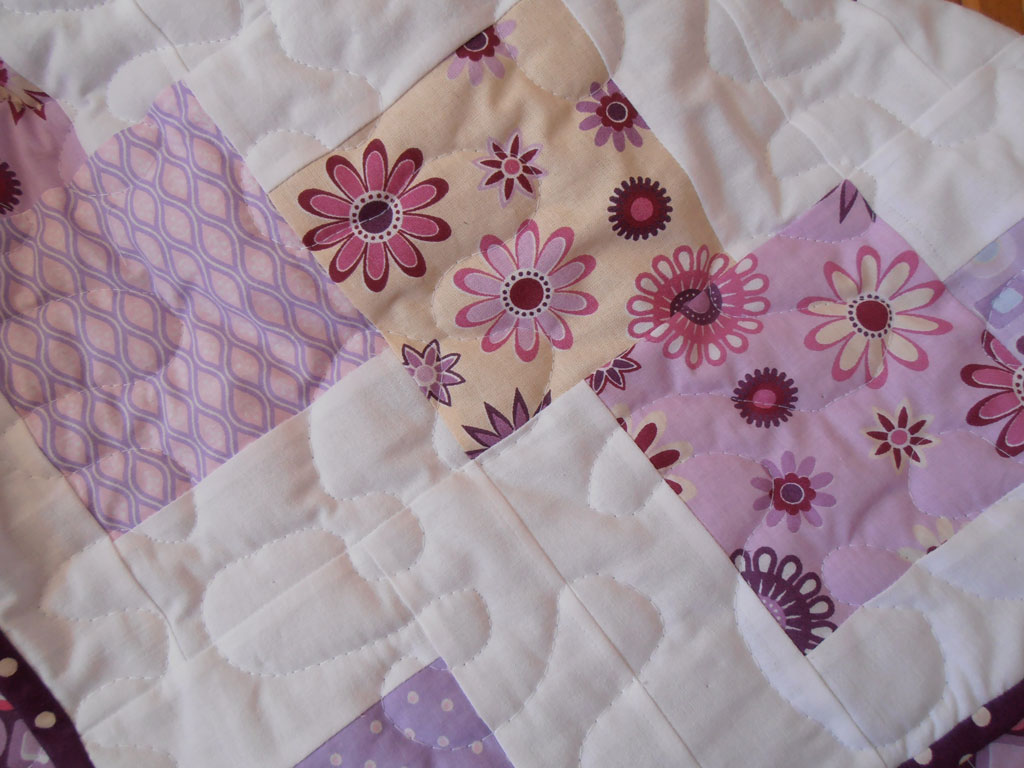
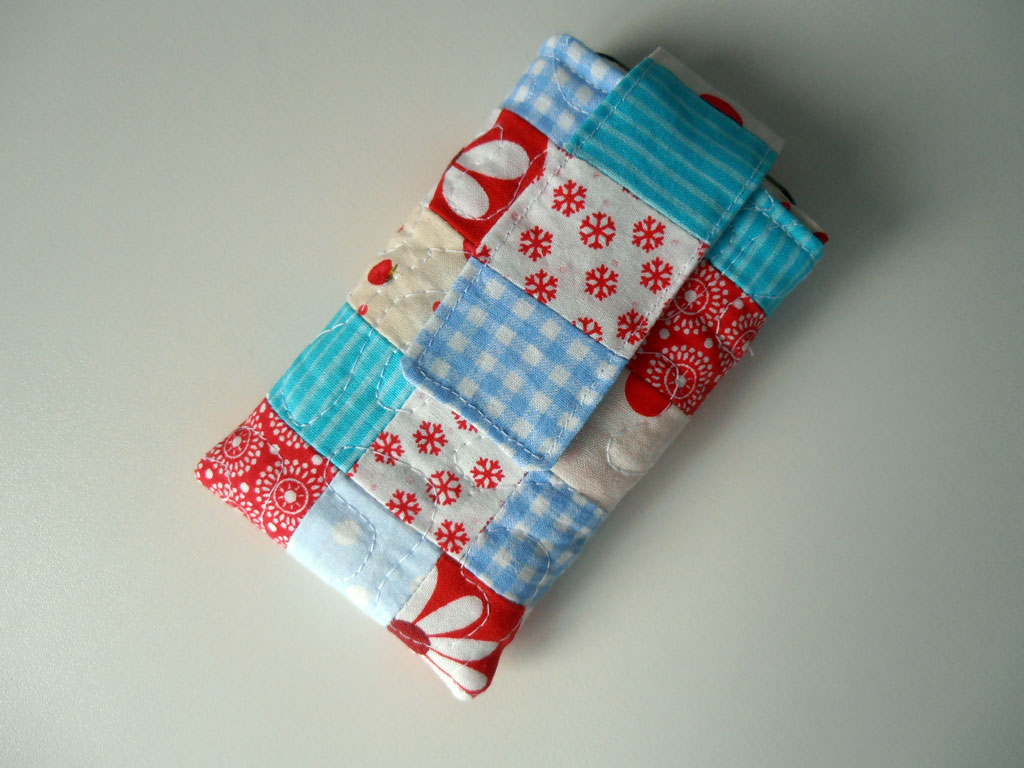
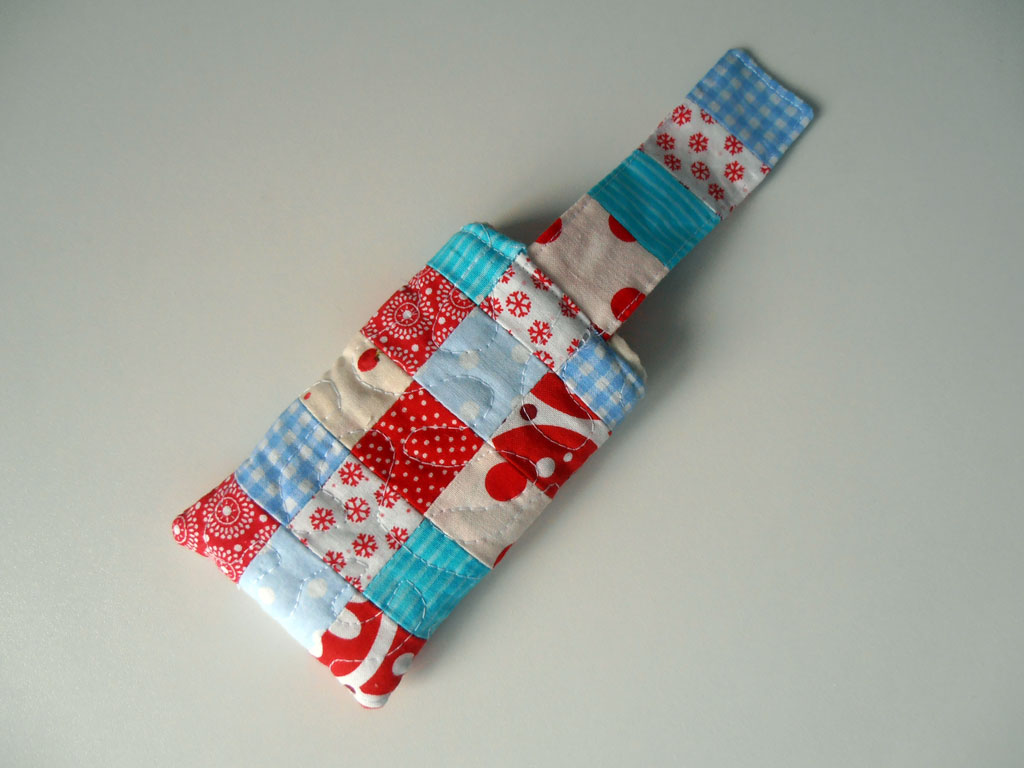
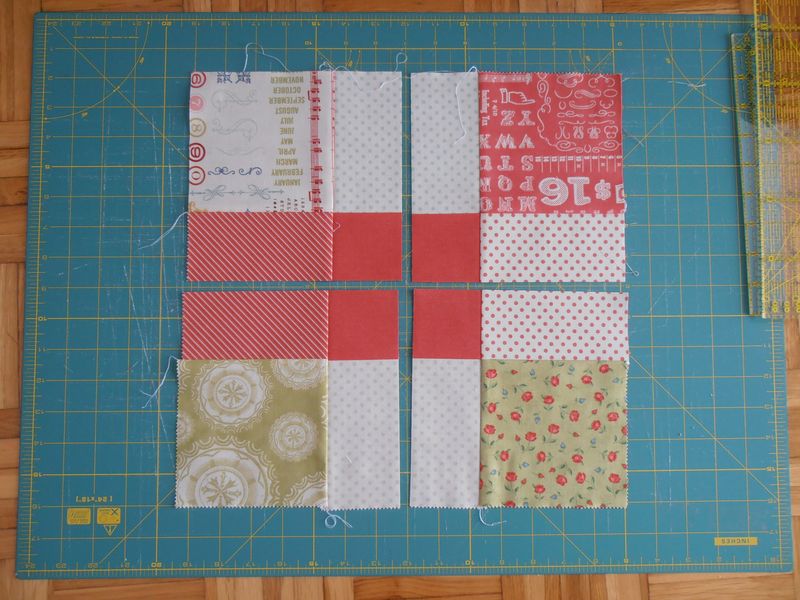
D9P stands for disappearing nine patch. A super easy and effective quilt block. You just sew nine 5-inch squares together 3 rows by 3 columns into one big square and then you cut in the middle from top to bottom, and left to right. You get 4 blocks that you can arrange in any way you like.
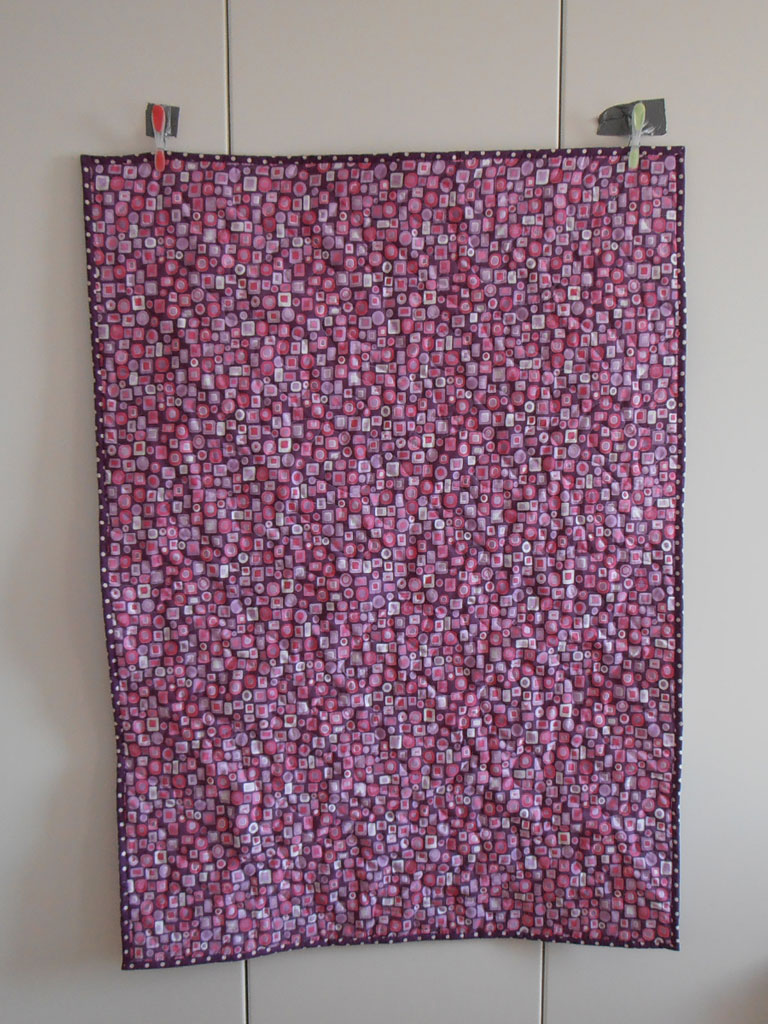
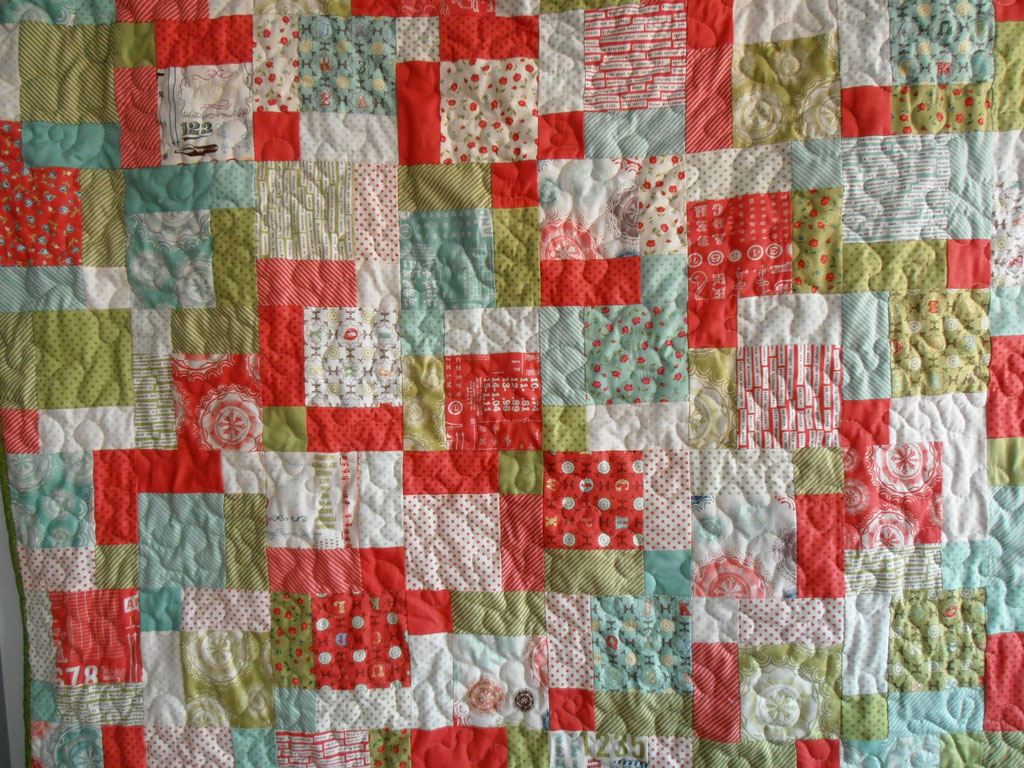
I ordered one charm pack and one layer cake in Moda's Odds and Ends fabric from Etsy. Originally I planned for a totally different quilt pattern (square in a square), but then I changed my mind. As I often do when it comes to buying supplies for a craft project, whether it's sewing or knitting.
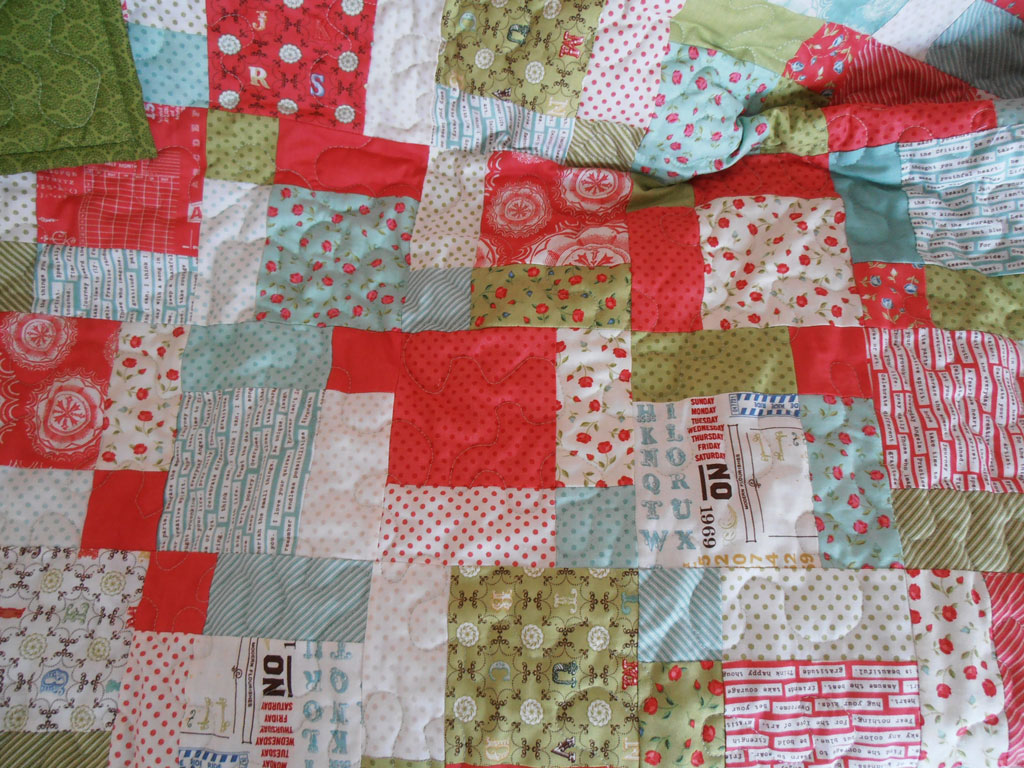
Giving up on the original plan meant that I didn't have quite enough fabric for a proper sized quilt. I ended up making the quilt a little shorter that the standard duvet cover, but it's not too short. The finished dimensions are 130x180 cm. I was going for 190 cm in length. I could have just added a border around the entire quilt, but I gave up on that because I couldn't decide which fabric to use and I only had batting that was 135 cm wide. I didn't want to buy new batting.


Sewing the top together took about a week. Worst job was trimming the blocks to the same size. As I wasn't quite precise while sewing and cutting the 5-inch squares, some of my finished blocks ended up being smaller than 7 inches. Another reason is Moda's pinked edges on their precuts. Since I cut the layer cakes, my edges didn't quite match up. Or maybe I just suck at matching pinked edges.
Anyway, I had to trim all sqaures. All 88 of them. Took forever.
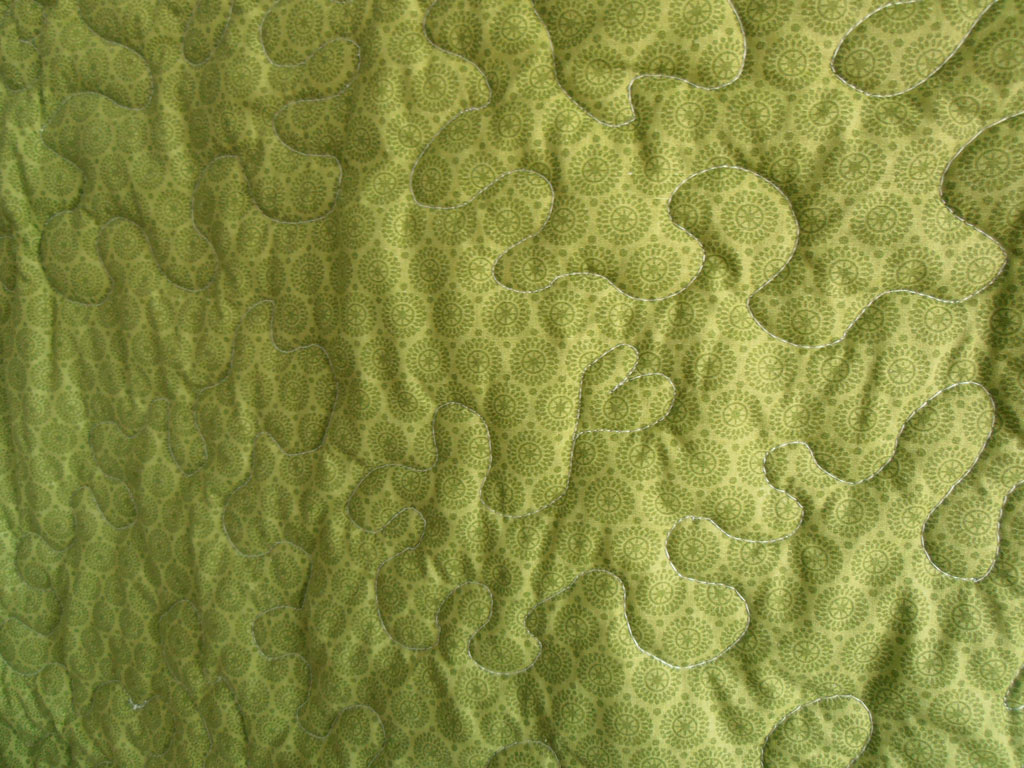
I quilted it with my standard free motion squiggles. This is my fourth quilt that I free motion quilted. And guess what? Instead of getting better at it, I'm actually getting worse. I had so many puckers at the back, pinched the backing and sewed bits of it together too many times to count, ripped stitches out just about every 15 minutes, swearing all the time. This quilt gave me so much anger and frustration. Not even chocolate helped.
Lessons for next time: use more pins! And try to quilt so that the pinned parts are to the left of the machine, flat on the table and not getting wrinkled on the right, under the sewing machine.
The only saving grace is the fact the front is so colorful you can hardly even see the stitching.
None of the fabric have been prewashed, so I'm hoping once I wash the quilt the puckering on the back will get smaller.


But all in all I'm pretty satisfied. This will be my new couch quilt for the winter months - the last one I made was way to short to provide enough warmth. The real question now is - where am I going to store all these quilts I'm making?
I ordered one charm pack and one layer cake in Moda's Odds and Ends fabric from Etsy. Originally I planned for a totally different quilt pattern (square in a square), but then I changed my mind. As I often do when it comes to buying supplies for a craft project, whether it's sewing or knitting.
Giving up on the original plan meant that I didn't have quite enough fabric for a proper sized quilt. I ended up making the quilt a little shorter that the standard duvet cover, but it's not too short. The finished dimensions are 130x180 cm. I was going for 190 cm in length. I could have just added a border around the entire quilt, but I gave up on that because I couldn't decide which fabric to use and I only had batting that was 135 cm wide. I didn't want to buy new batting.
Sewing the top together took about a week. Worst job was trimming the blocks to the same size. As I wasn't quite precise while sewing and cutting the 5-inch squares, some of my finished blocks ended up being smaller than 7 inches. Another reason is Moda's pinked edges on their precuts. Since I cut the layer cakes, my edges didn't quite match up. Or maybe I just suck at matching pinked edges.
Anyway, I had to trim all sqaures. All 88 of them. Took forever.
I quilted it with my standard free motion squiggles. This is my fourth quilt that I free motion quilted. And guess what? Instead of getting better at it, I'm actually getting worse. I had so many puckers at the back, pinched the backing and sewed bits of it together too many times to count, ripped stitches out just about every 15 minutes, swearing all the time. This quilt gave me so much anger and frustration. Not even chocolate helped.
Lessons for next time: use more pins! And try to quilt so that the pinned parts are to the left of the machine, flat on the table and not getting wrinkled on the right, under the sewing machine.
The only saving grace is the fact the front is so colorful you can hardly even see the stitching.
None of the fabric have been prewashed, so I'm hoping once I wash the quilt the puckering on the back will get smaller.
But all in all I'm pretty satisfied. This will be my new couch quilt for the winter months - the last one I made was way to short to provide enough warmth. The real question now is - where am I going to store all these quilts I'm making?