OK, OK, I did the sleeves :-)
 Presenting my Buttony sweater, all finished. I only made some minor changes to the pattern, like adding a buttonhole on every 16th row instead of 10th. I also didn't decrease for the sleeves, which shows you just how lazy I am.
I admit, the sleeves are a bit too wide, but it only shows if I wear a short sleeved t-shirt under it, but considering this is a winter sweater, I don't really plan on doing that.
Here it is, with a nice view of my neighbors completely covered balcony.
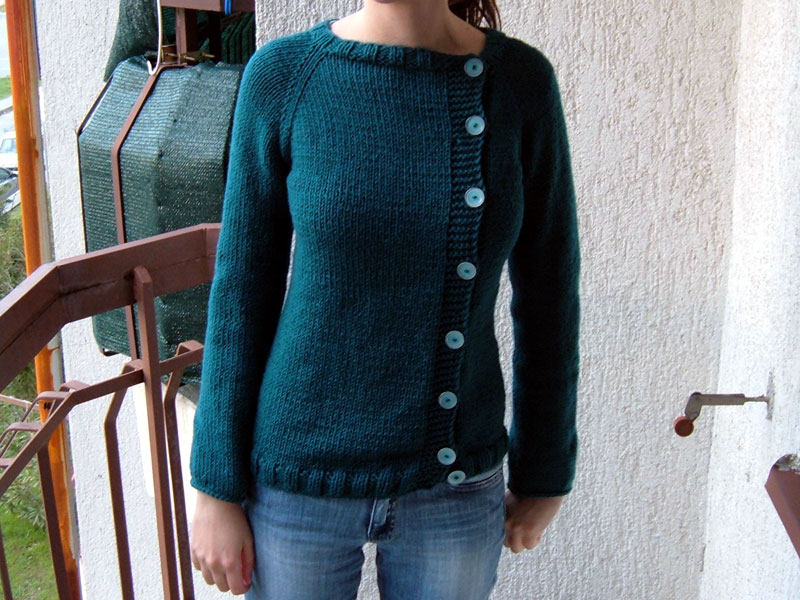
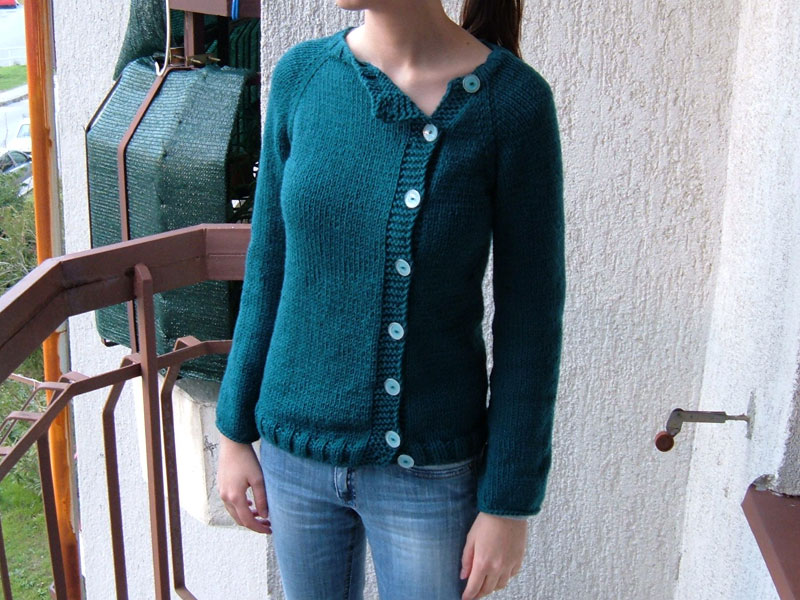 The technical details: Pattern: Buttony sweaterYarn: GGH Davos, 8 skeinsNeedles: 6 mmTime it took: a month and a half
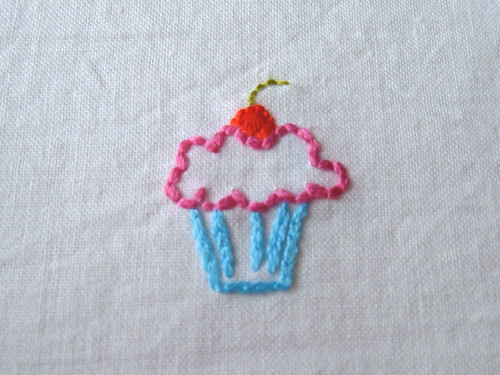
I'm still working on perfecting my embroidery skills. It's fun. So fun actually, that I'm totally neglecting my knitting. I'm way past my deadline to start knitting Christmas presents. Looks like this year people will be getting store bought stuff. Or embroidered stuff ;-)My latest creation - dead bunny. Done is split stitch for the outline, and satin stitch for the heart.  Later it became a pincushion. Voodoo bunny.
Things I learned form sewing this: - It's hard to sew a bunny outline with a sewing machine.
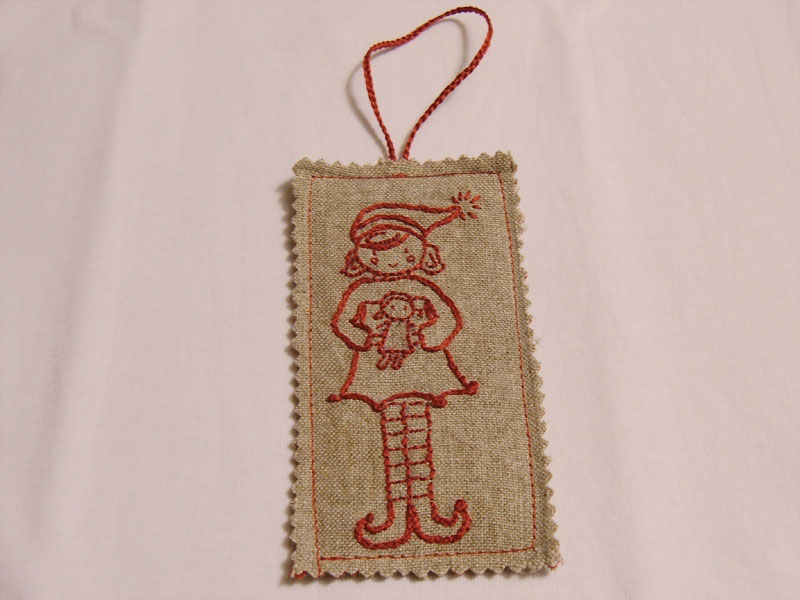
- Next time, sew a little farther from the embroidery, otherwise it'll be too close to the edge of the pincushion. Like shown on the picture below.
- Choose a non-fraying fabric for the back, because if you don't, your stitches will come undone, and it will look crappy. Like not shown on the picture below.
- Sew the opening shut using the same thread color as your front fabric. Don't be lazy and just use the thread that was already on the needle.
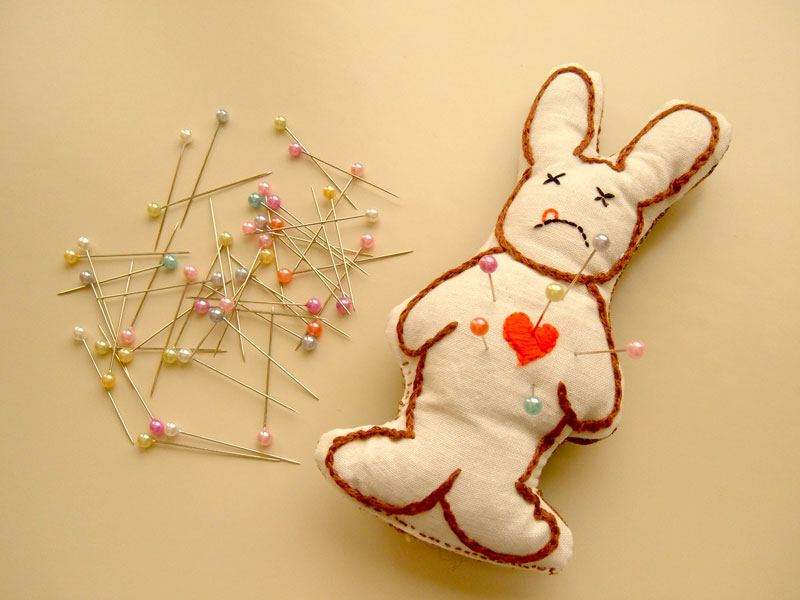 But still, a functioning pincushion for my pretty shiny pins. Maybe now I won't end up finding stray pins on the floor day after I'm done sewing something.

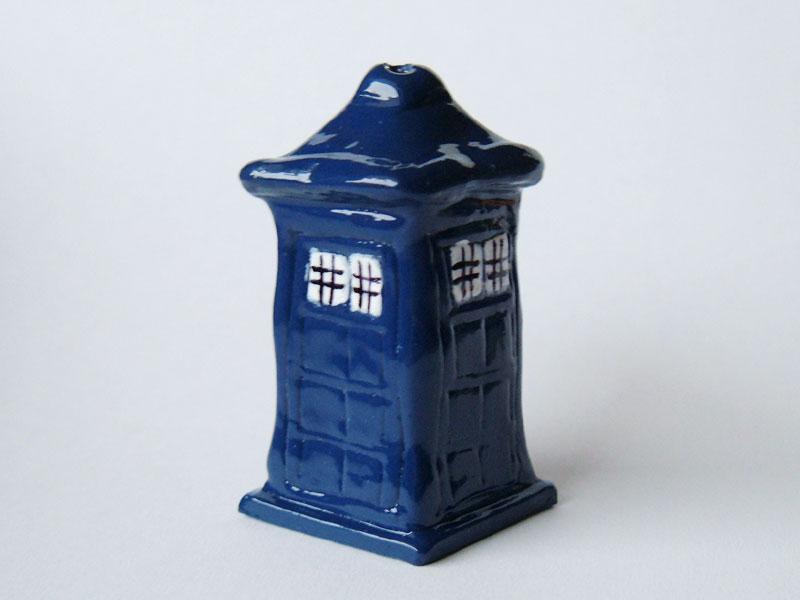
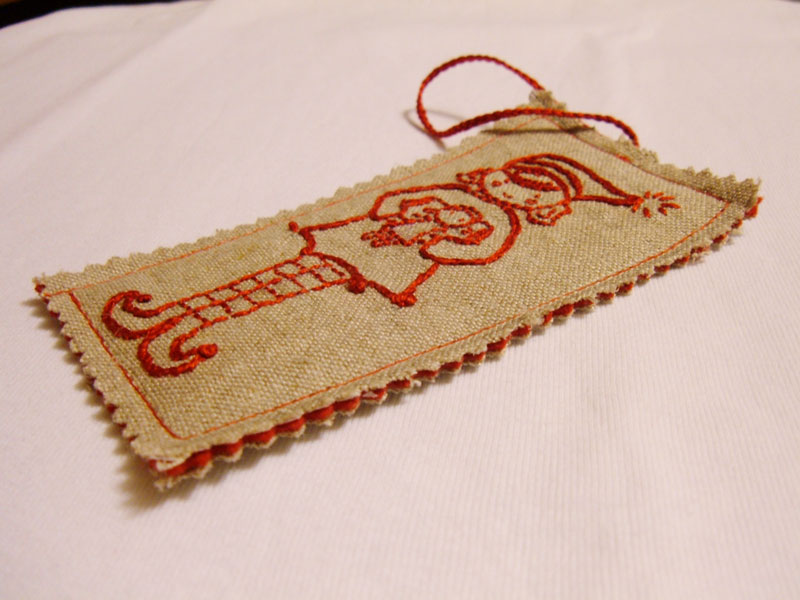 And for a Doctor Who fan on my list - a Cyberman. Actually, just his head. Right in time for this years Doctor Who Christmas Special, which features the Cybermen. That was kind of a spoiler for the episode, so if I've completely ruined it for you, I'm sorry.
  Now I'm off to do some baking. Have a merry and crafty Chistmas!